Creating a Project or Internship
This guide will walk you through the process of creating a project or internship on Skilbi

Emmanuel
Last Update 4 ani în urmă
1. Signup: If you already have a Skilbi account, you can skip this step.
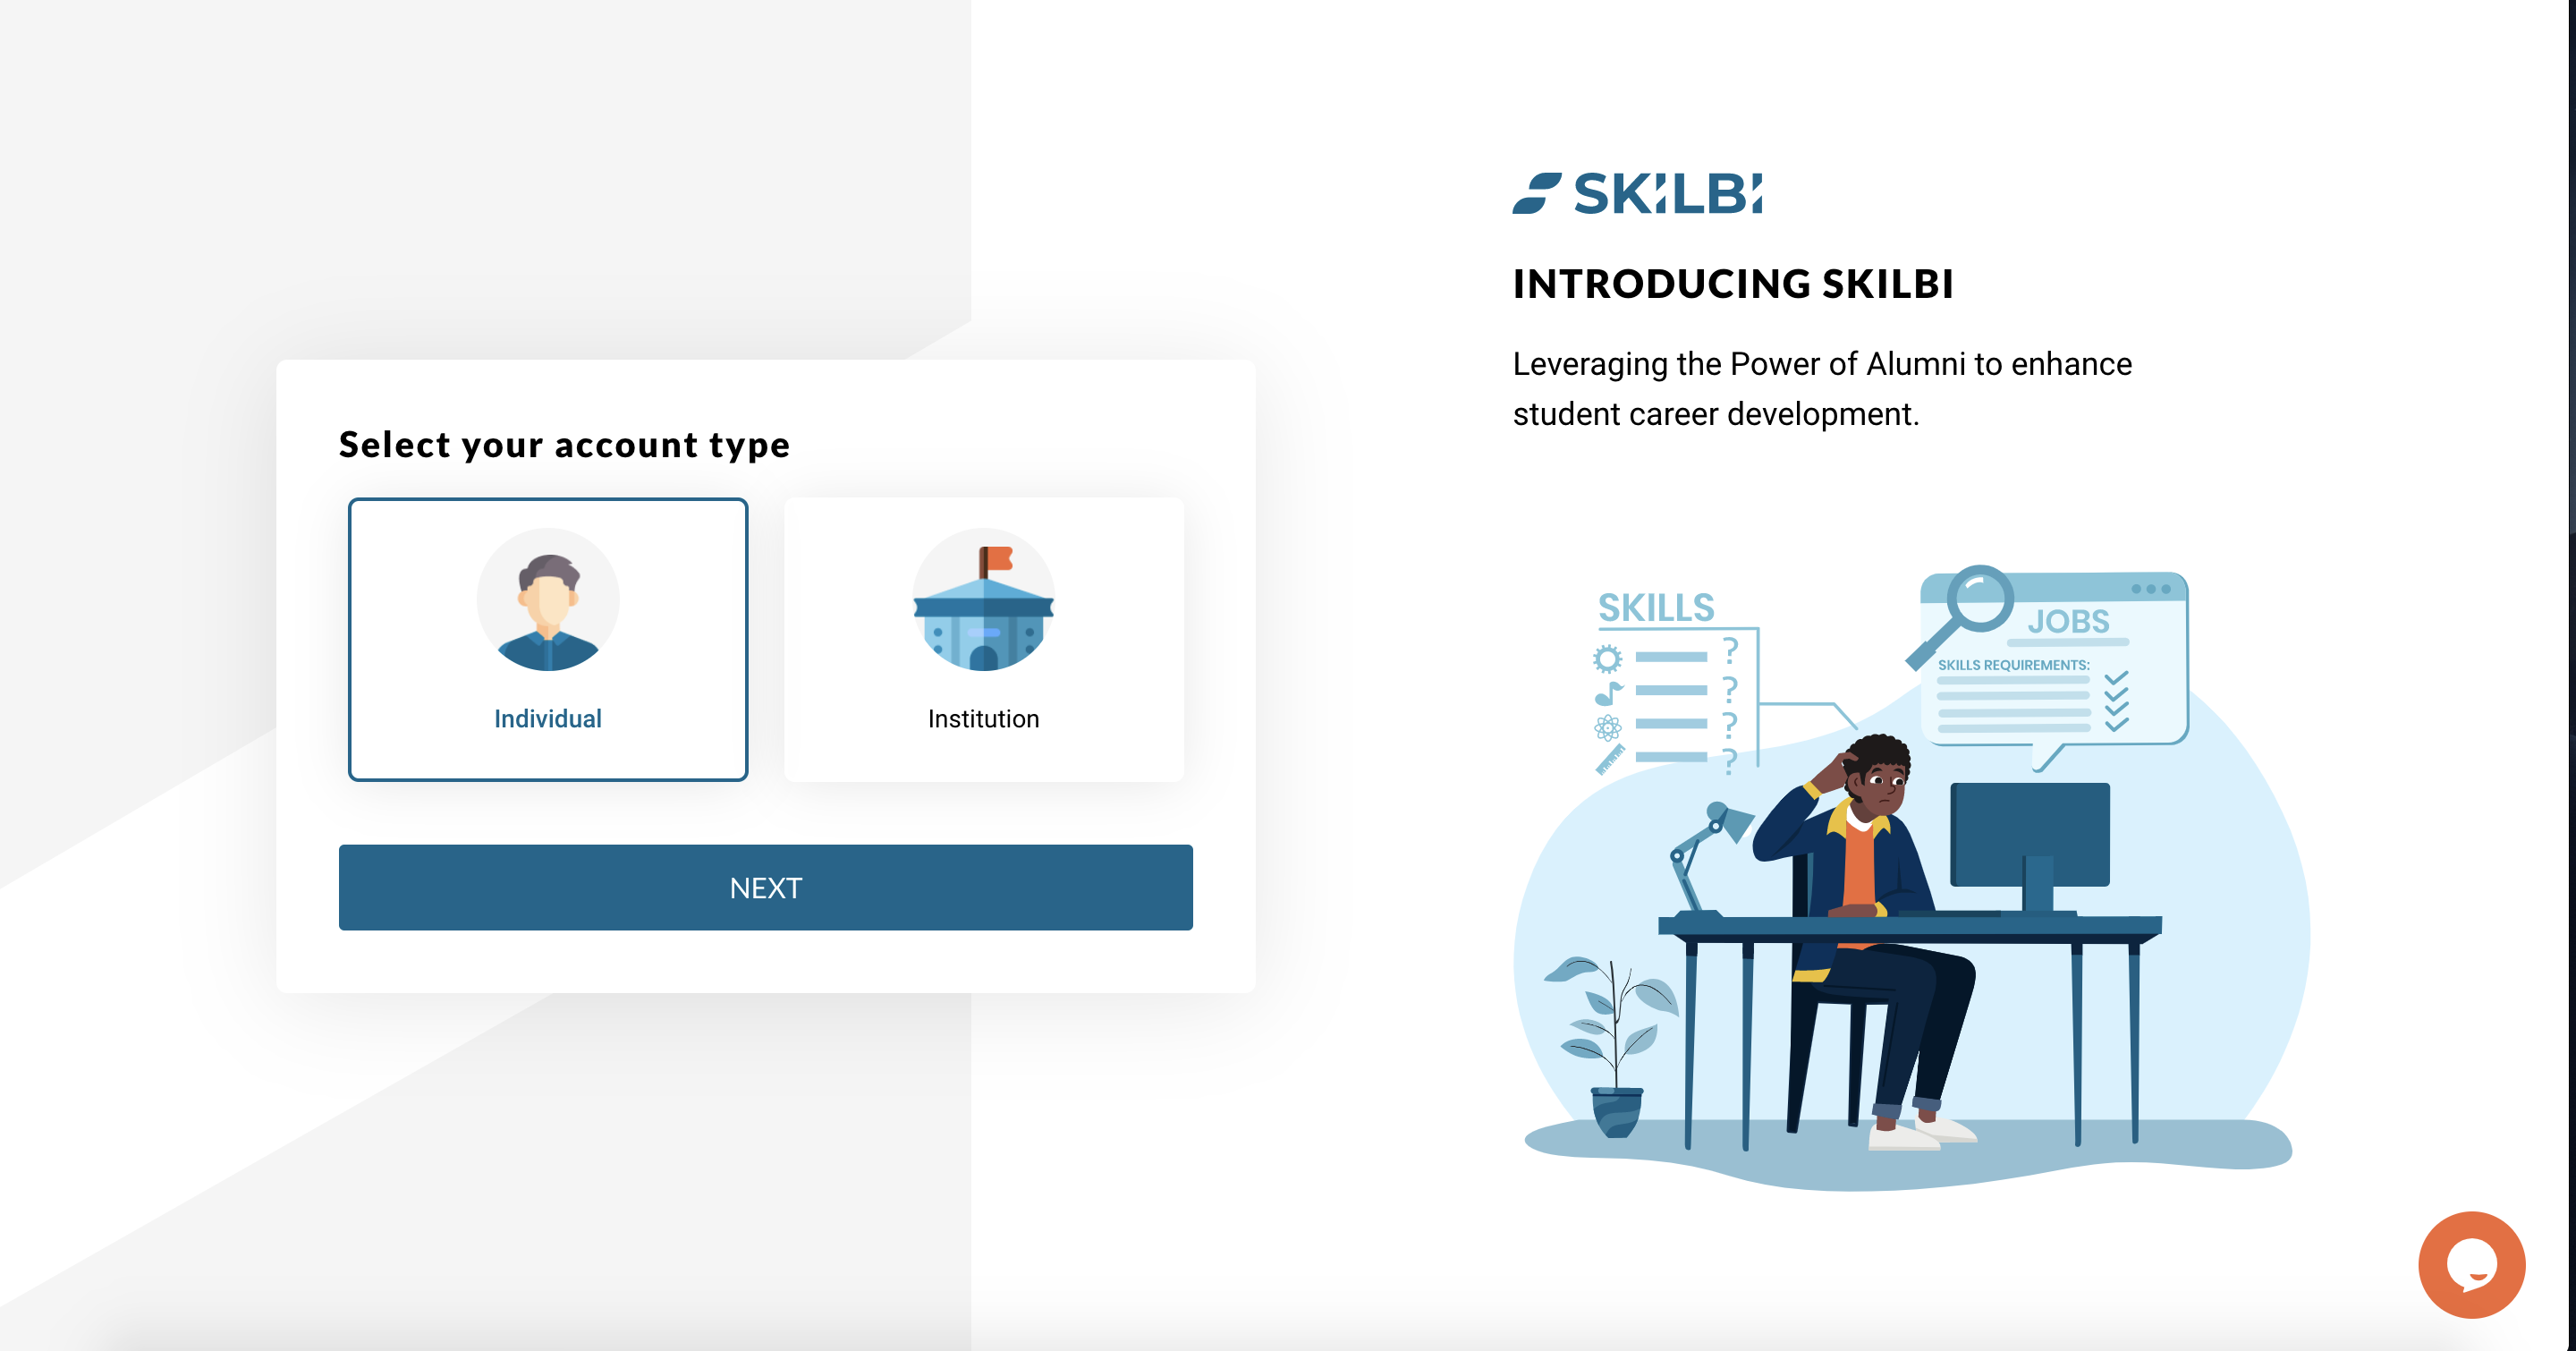
For those new to Skilbi, please start by creating a brand new account on Skilbi (skilbi.com/signup)
When signing up, please select Individual > Mentor and continue the process. You will be prompted to fill out some basic info to get your profile rolling.
Note: Your mentor application will be for Skilbi ONLY.
Once you complete the mentor application, you will be asked to launched your dashboard. T
2. Polish your profile
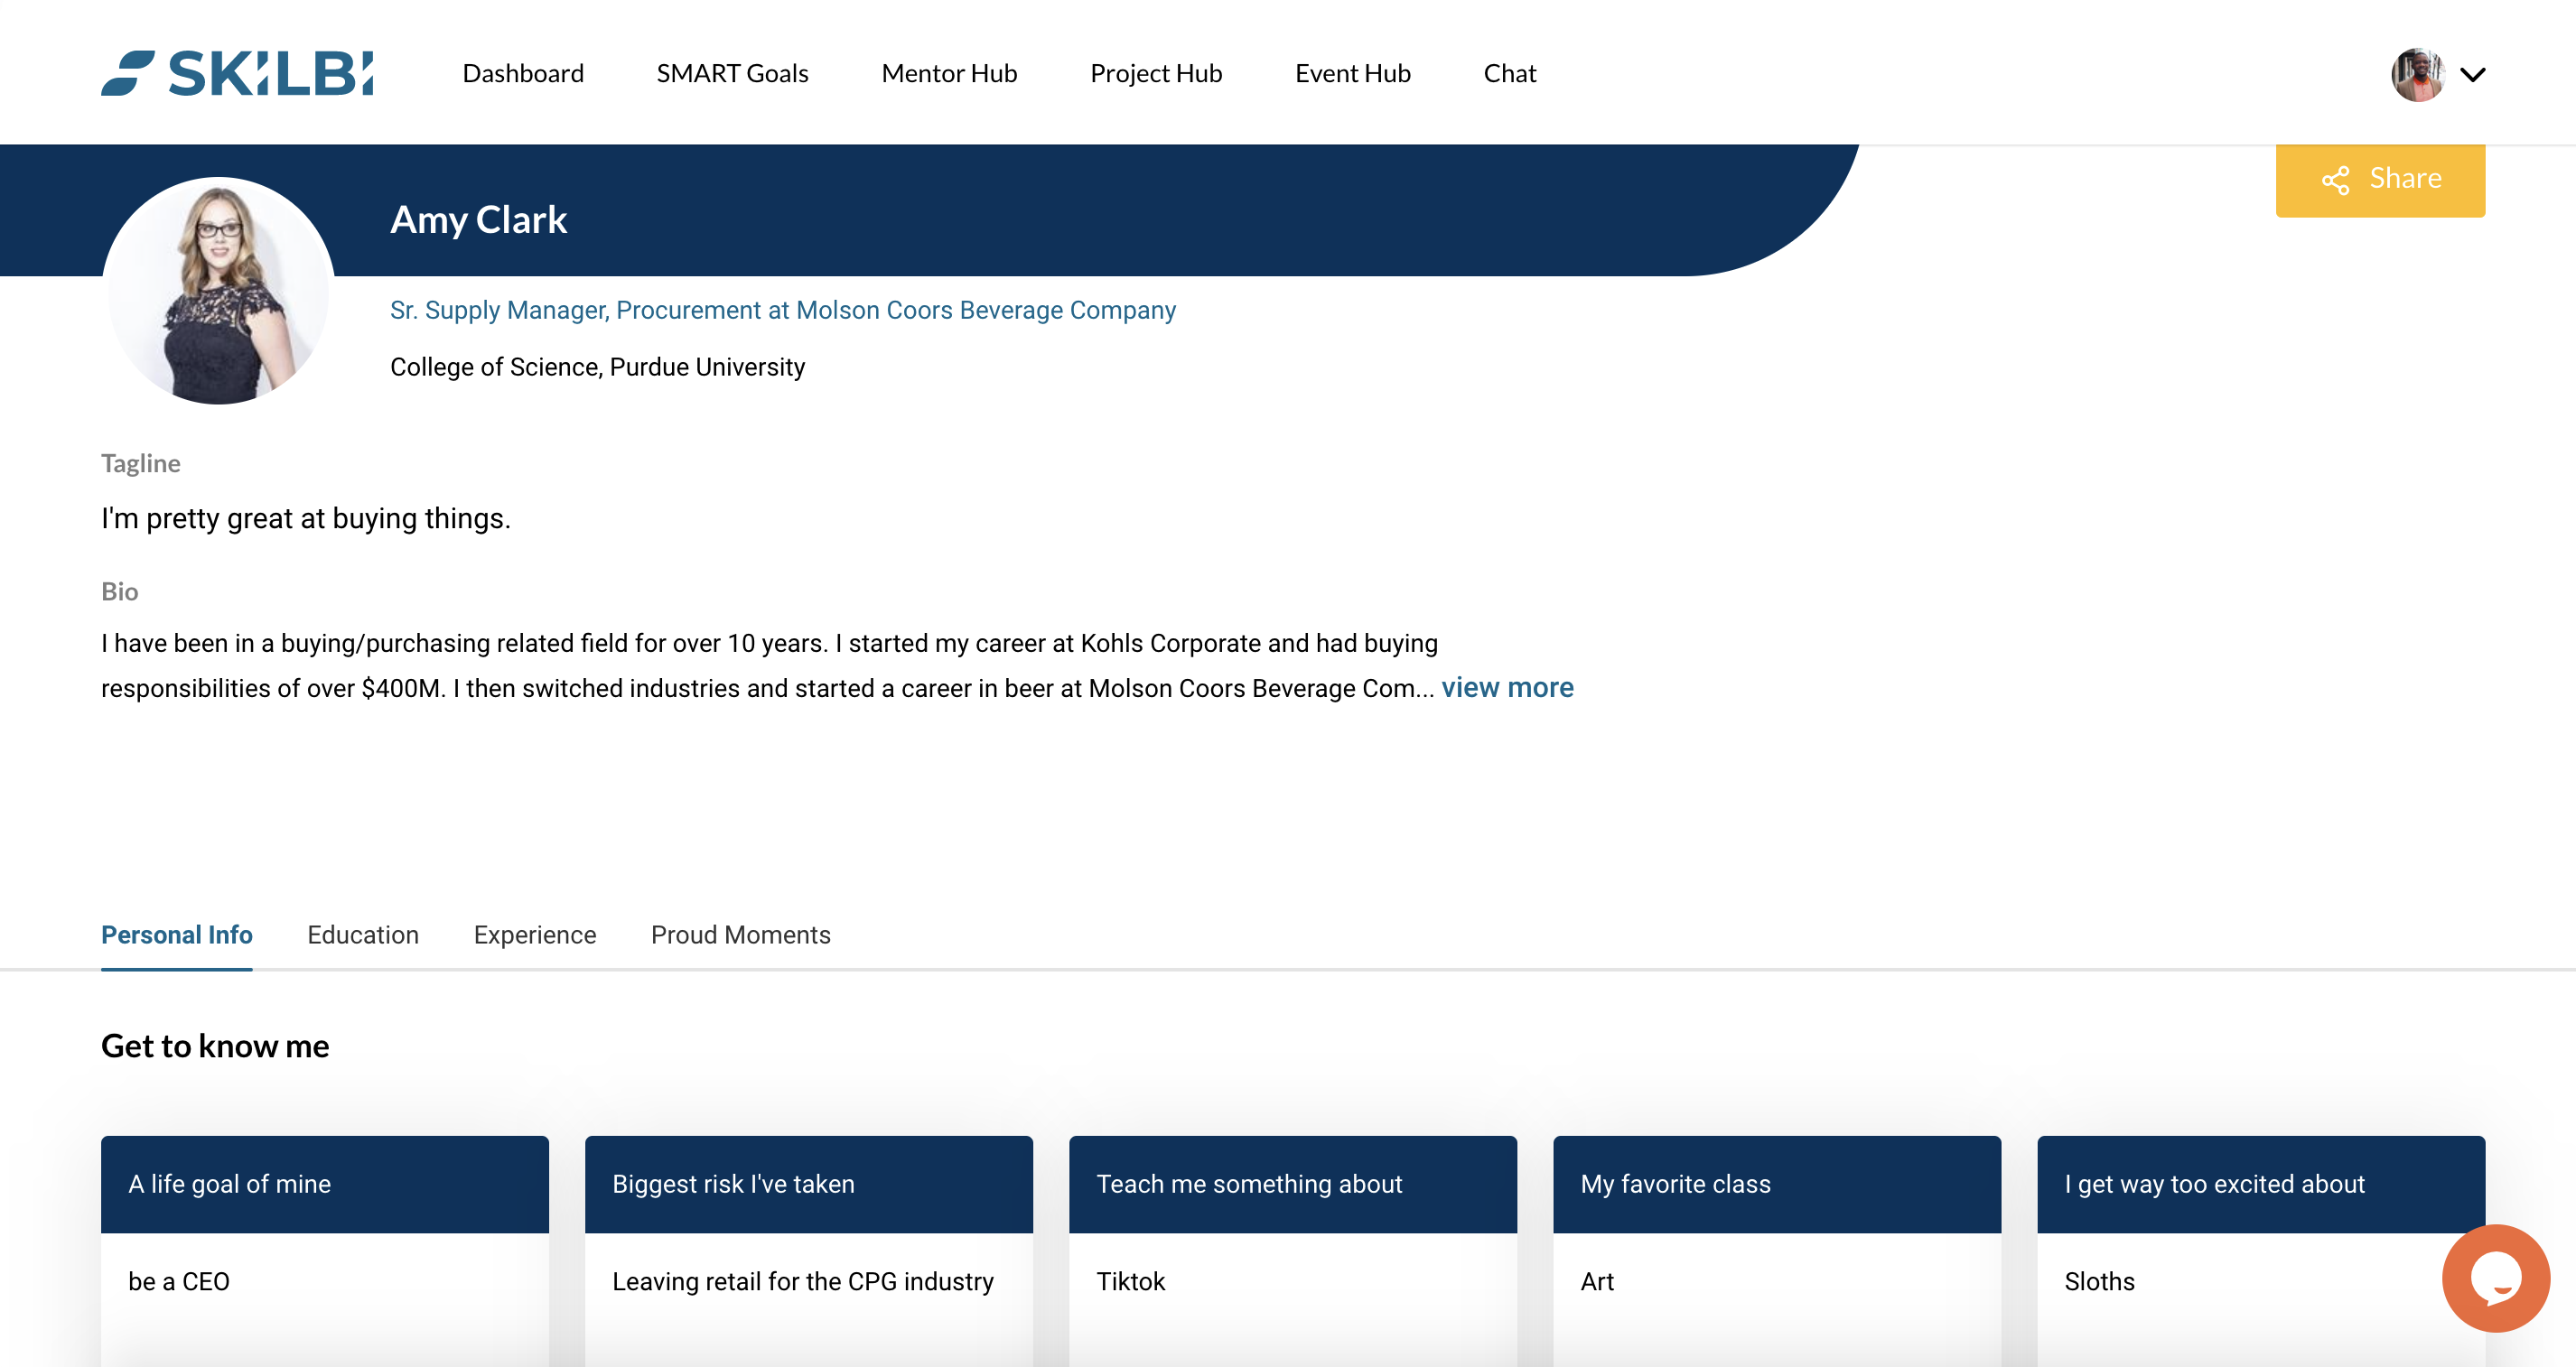
We strongly recommend you add more info to your profile such as >Experience and Company (If you are a startup) > Get to Know Me > Education and more.
Students are compelled to apply to positions when the founder or project owners profile is compelling and tells a better story about the opportunity they present for students.
3. Go to Project Hub and Create a Project
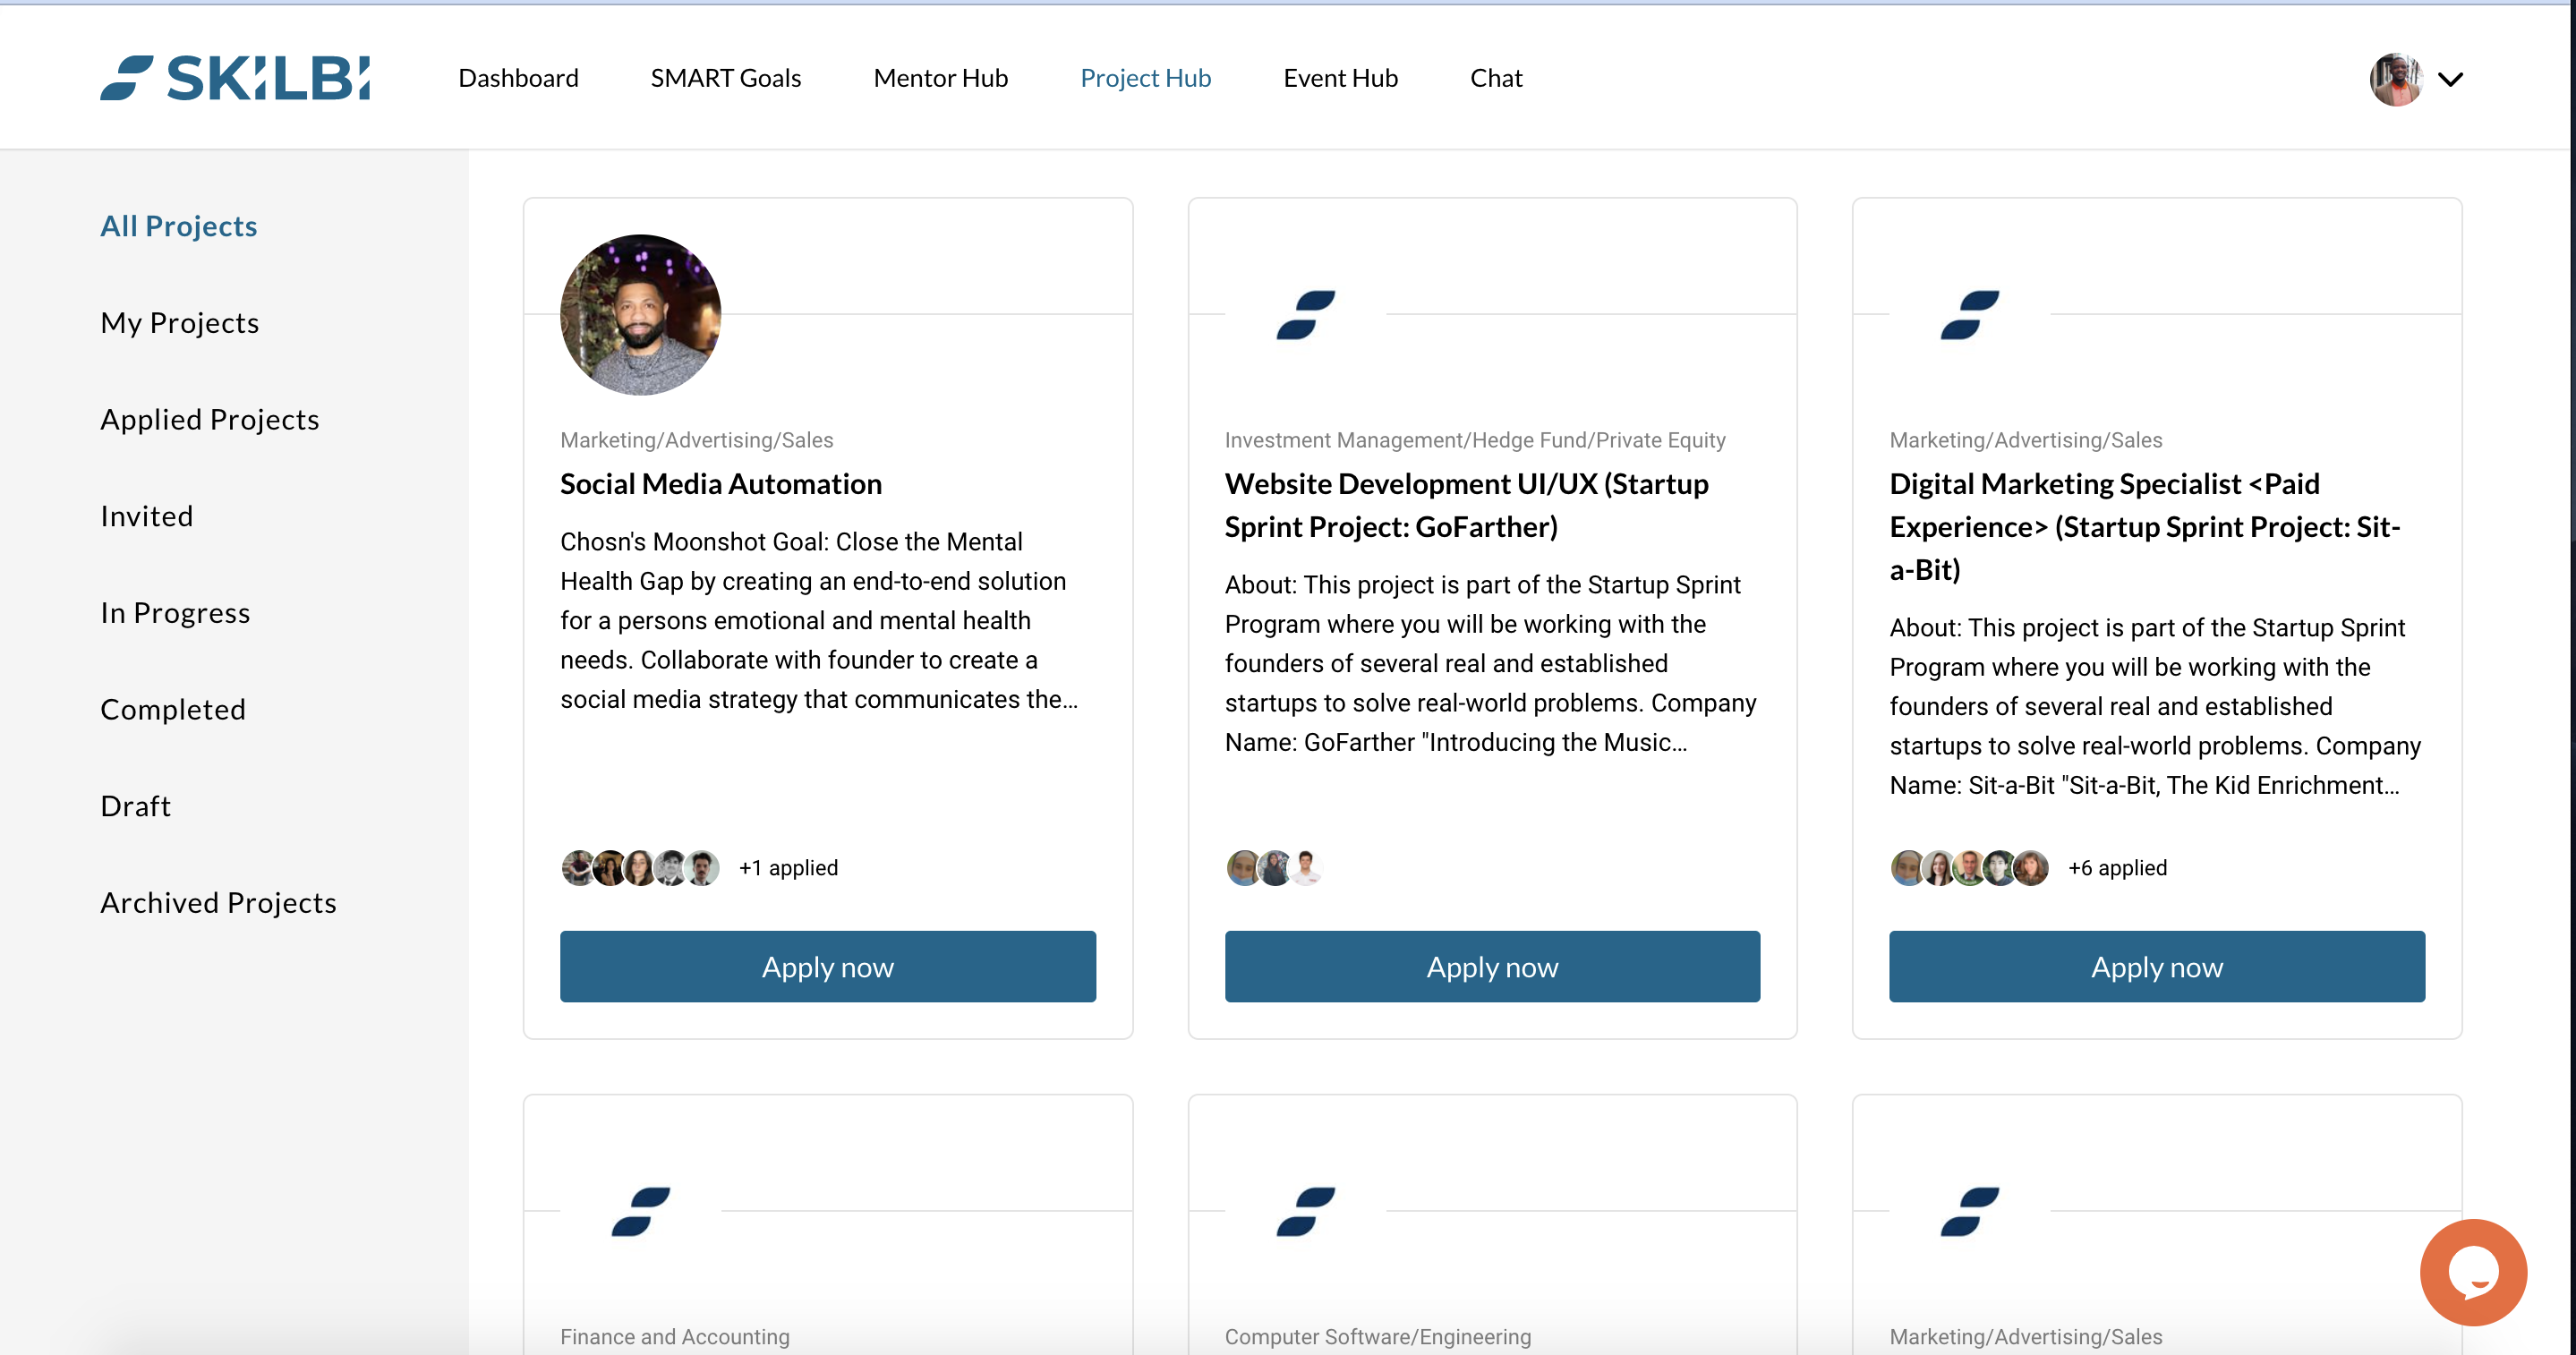
On the top right hand corner, you will be asked to create a project.
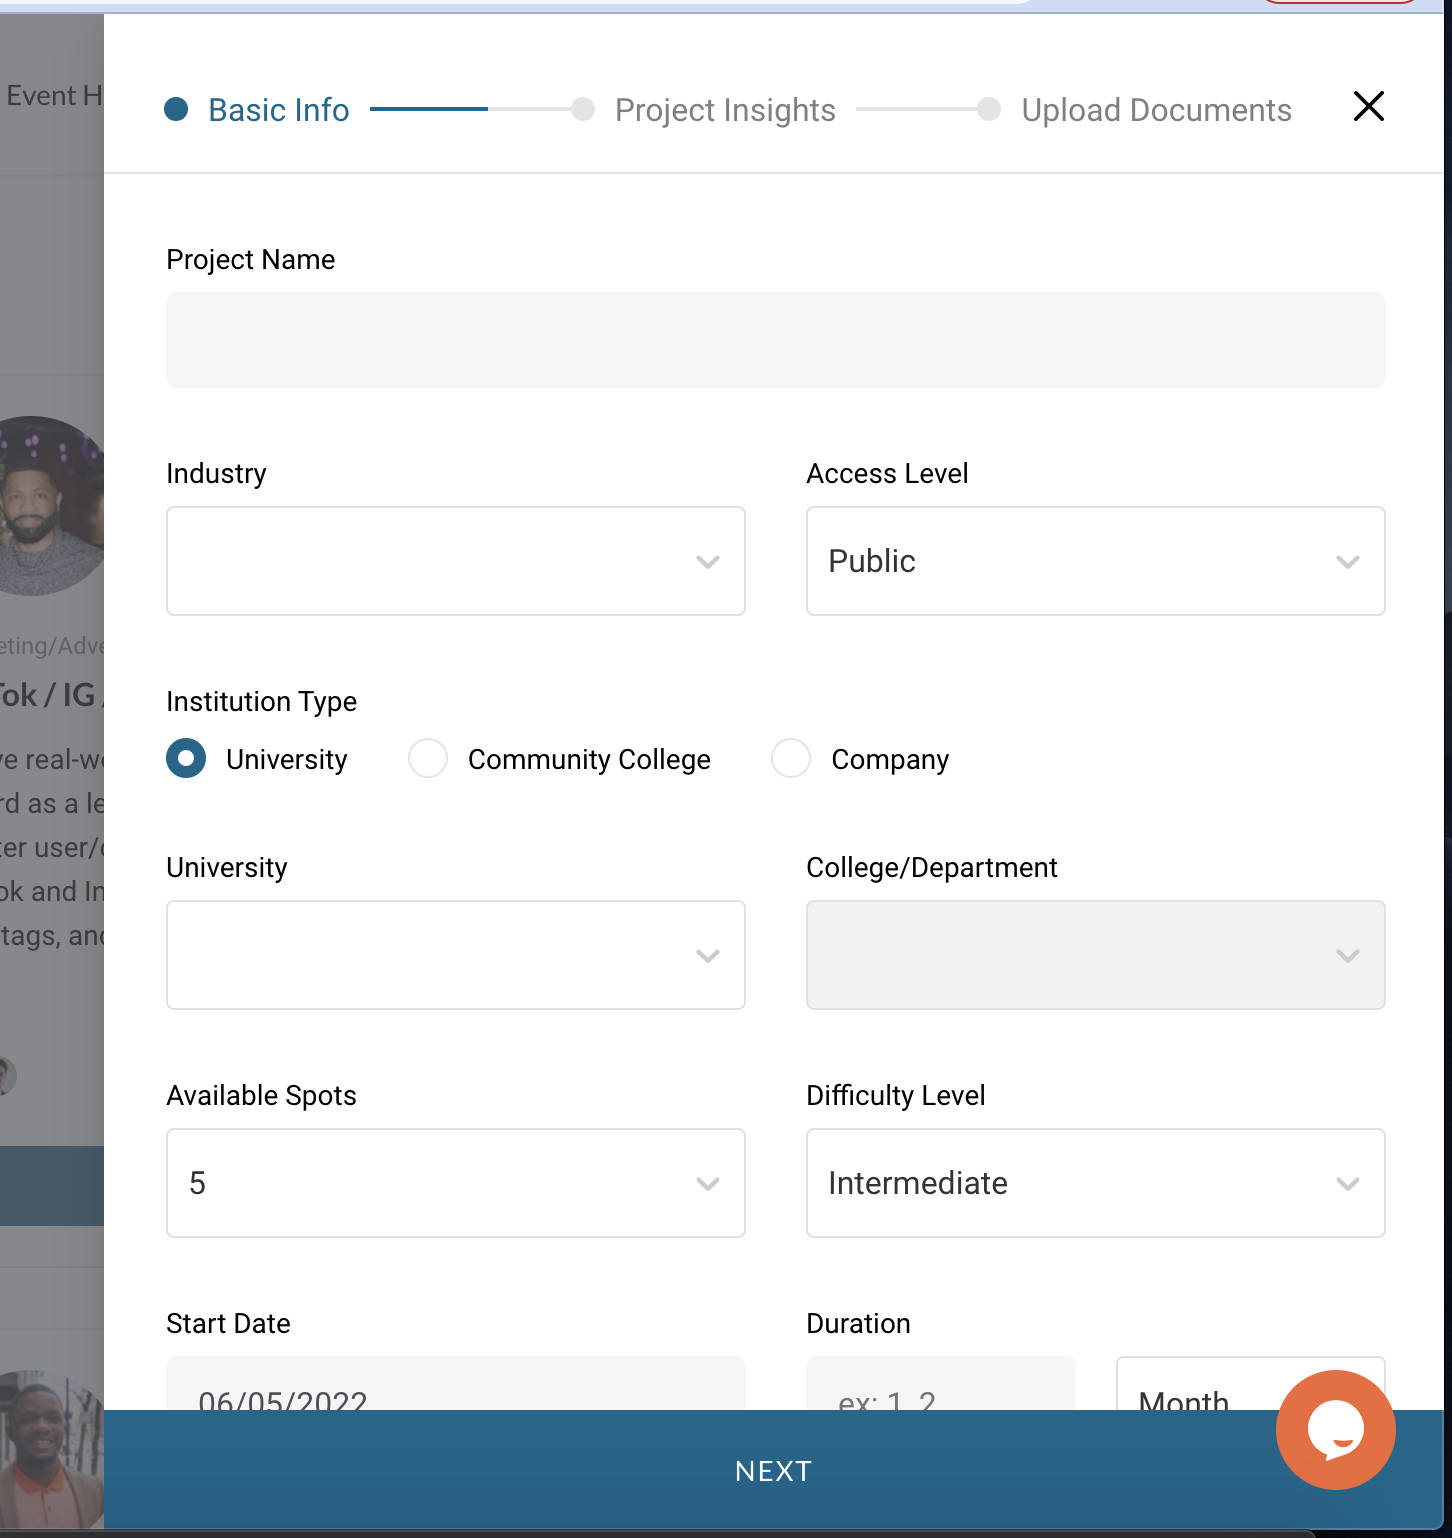
Title: Make it clear and attractive to students (If your position offers stipends or hourly pay, please add it to the title) We strongly recommend stipends or hourly paid opportunities whenever possible
Ignore: Institution type
Access Level: Always make public
Description: Please make the description very clear with detailed deliverables whenever possible
Career Benefits: Students love when a project opportunity clearly describes how it will benefit their careers. This is your opportunity to attract qualified candidates.
Next - Publish!
4. Manage Applicants
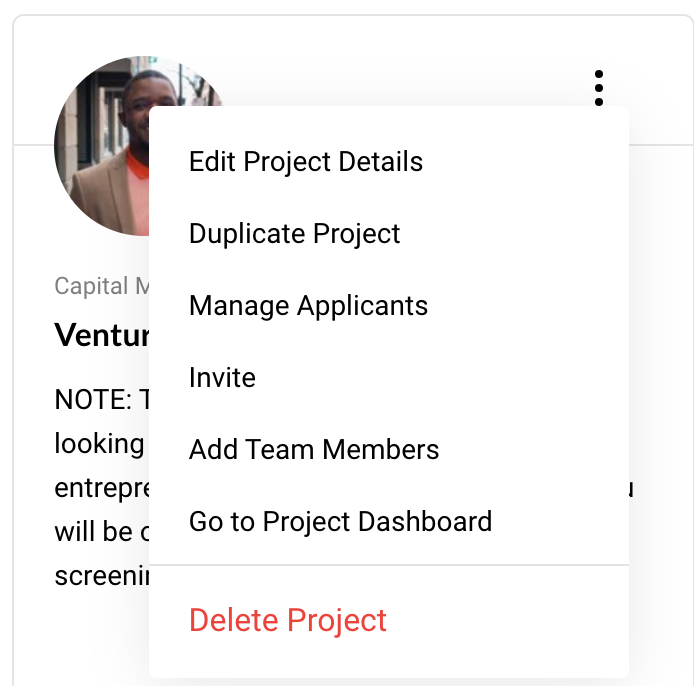
When you start receiving applicants, you will be notified via email.
Sign in > Project hub > Project > Manage Applicants > Send Message > Select or Decline
Before selecting an applicant, we encourage you to manage all communication using the Skilbi chat features. You can use this to schedule meetings and more. When you are ready to select any applicant, simply go to > Select. This will send them an invitation to join your project on Skilbi.
Reach out to us via [email protected] if you have any questions.