Project Owner Guide - Beta Pilot Founders Only
How to Setup your Project Dashboard

Laura Vazquez
Last Update 4 years ago
Step 1: Sign up as a mentor
When you sign up as a mentor on Skilbi, make sure to include the following:
- Tag Line: This does not have to be incredibly long or detailed. You are welcome to personalize it and add any relevant details. Below are some examples:
1. Marketing Professional from Wisconsin
2. Project Manager at x Company looking to Mentor Enthusiastic Learners
3. Founder and CEO of x Company
- Biography: In this section, you want to make sure you emphasize your career, your top skills, and any other details that may help students pinpoint you as a professional they can speak to. Including relevant, interesting experiences will ensure that students and mentees in your field will reach out confidently.
- A Profile picture and “Get to Know Me” Prompts: these assets add a personal touch to your profile
Example Profile:
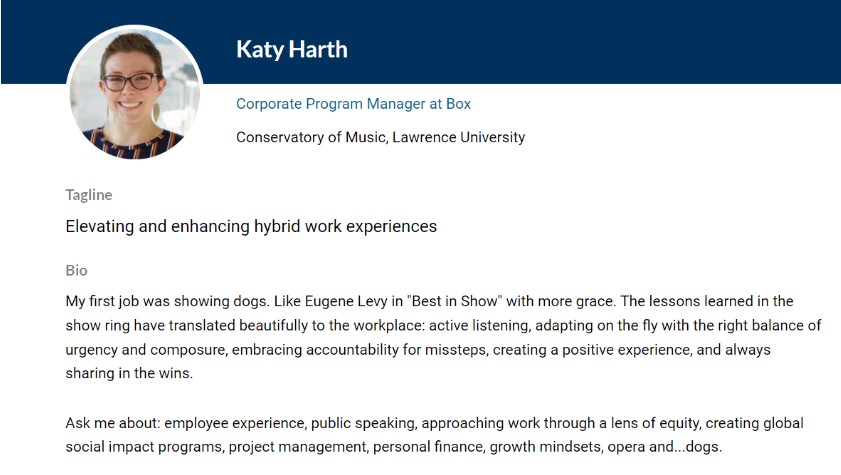
Step 2: Apply to your corresponding project(s)
Find your project(s) by clicking on the “Project Hub” tab at the top of the page and filter out your company name. The projects created for your company will appear and you may click and apply for them.
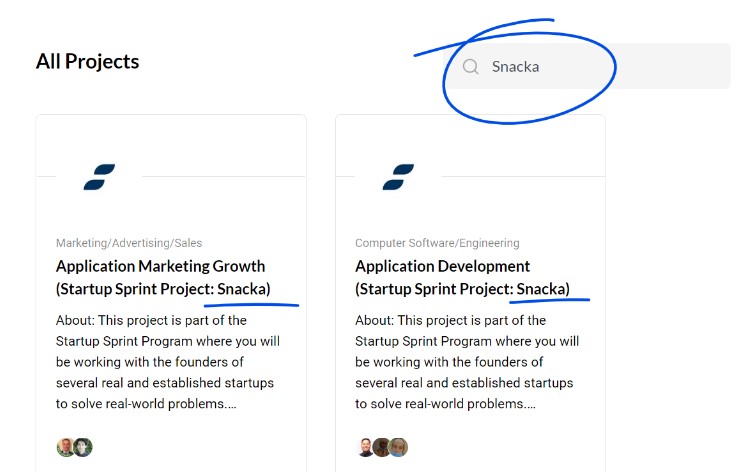
All you have to do is add “project owner” in the application so that we can add you to the hub.
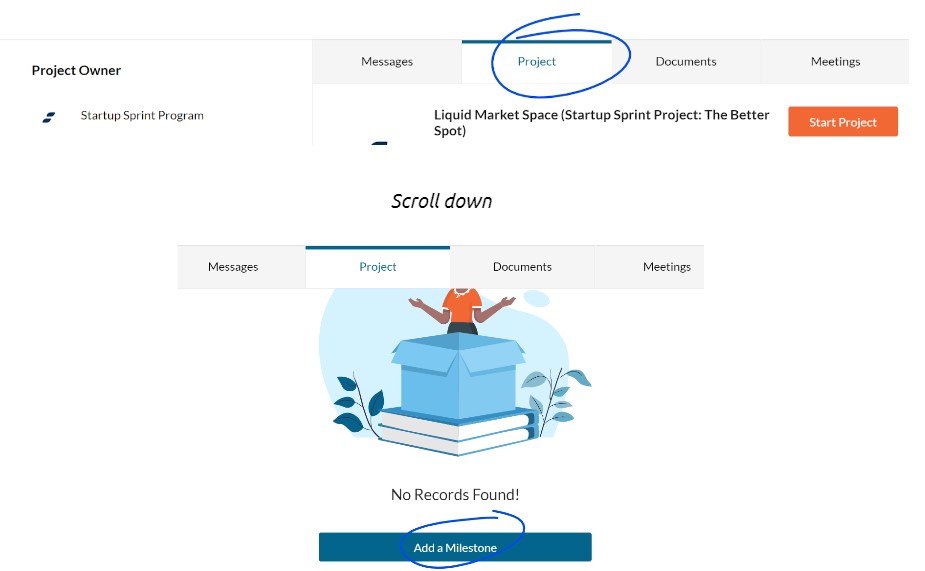
Step 3: Edit & add milestones to your project
In your project dashboard, you will be able to edit the milestones that students will complete. The dashboard serves as a way to organize your deliverable expectations of the students, chat with one or many members of the project, and schedule meetings. There are sample milestones within the dashboard under “Project”, please edit them to fit your project needs.
What to include in your milestones:
- Title
- Start and End Date
- Assign to Student(s)
- Add a Description
- Add Supporting Documents
Example Milestone Description:
“Create Social Media Posting Schedule: Over the next week, you will research what days and times are best for posting on different social media channels. In your report, you must include these details, as well as which type of content (videos, art, articles, etc.) engages the audience the most depending on the channel (Twitter, Instagram, etc.). Once these details are researched thoroughly, create a coherent posting schedule for our accounts.”
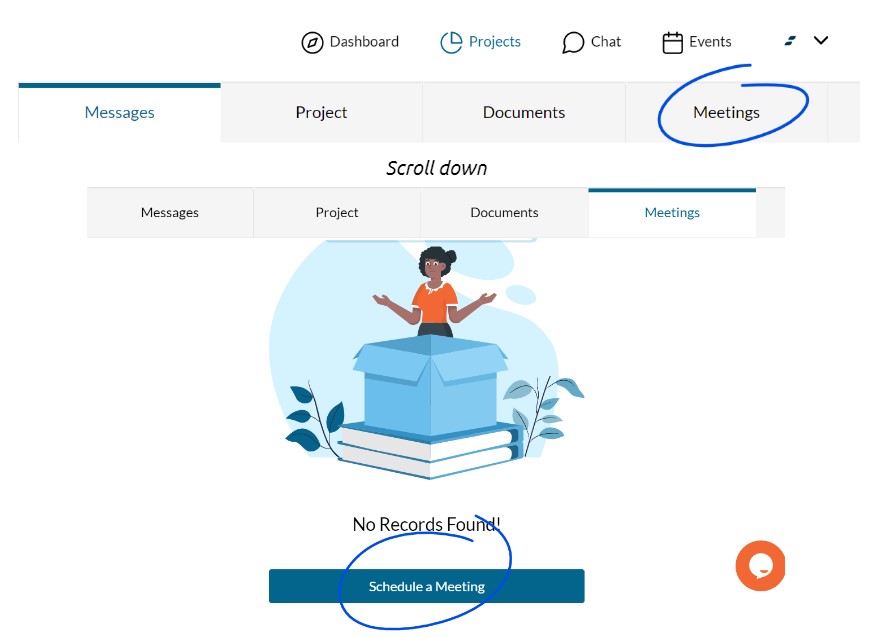
STEP 4: How to use meetings
From your project dashboard, click on the “Meetings” tab to find “Schedule a Meeting.”
What to include in the details:
- Title your meeting
- Select “Virtual” for the meeting type
- Add the date and time
- Description: add details that will be covered in the meeting and your preferred conferencing link
Step 5: Start your Project!