How to join Skilbi as a mentor
A step-by-step guide on how to join Skilbi as a mentor

Macy So
Last Update há 4 anos
Step 1: Join Now
Get started at skilbi.com
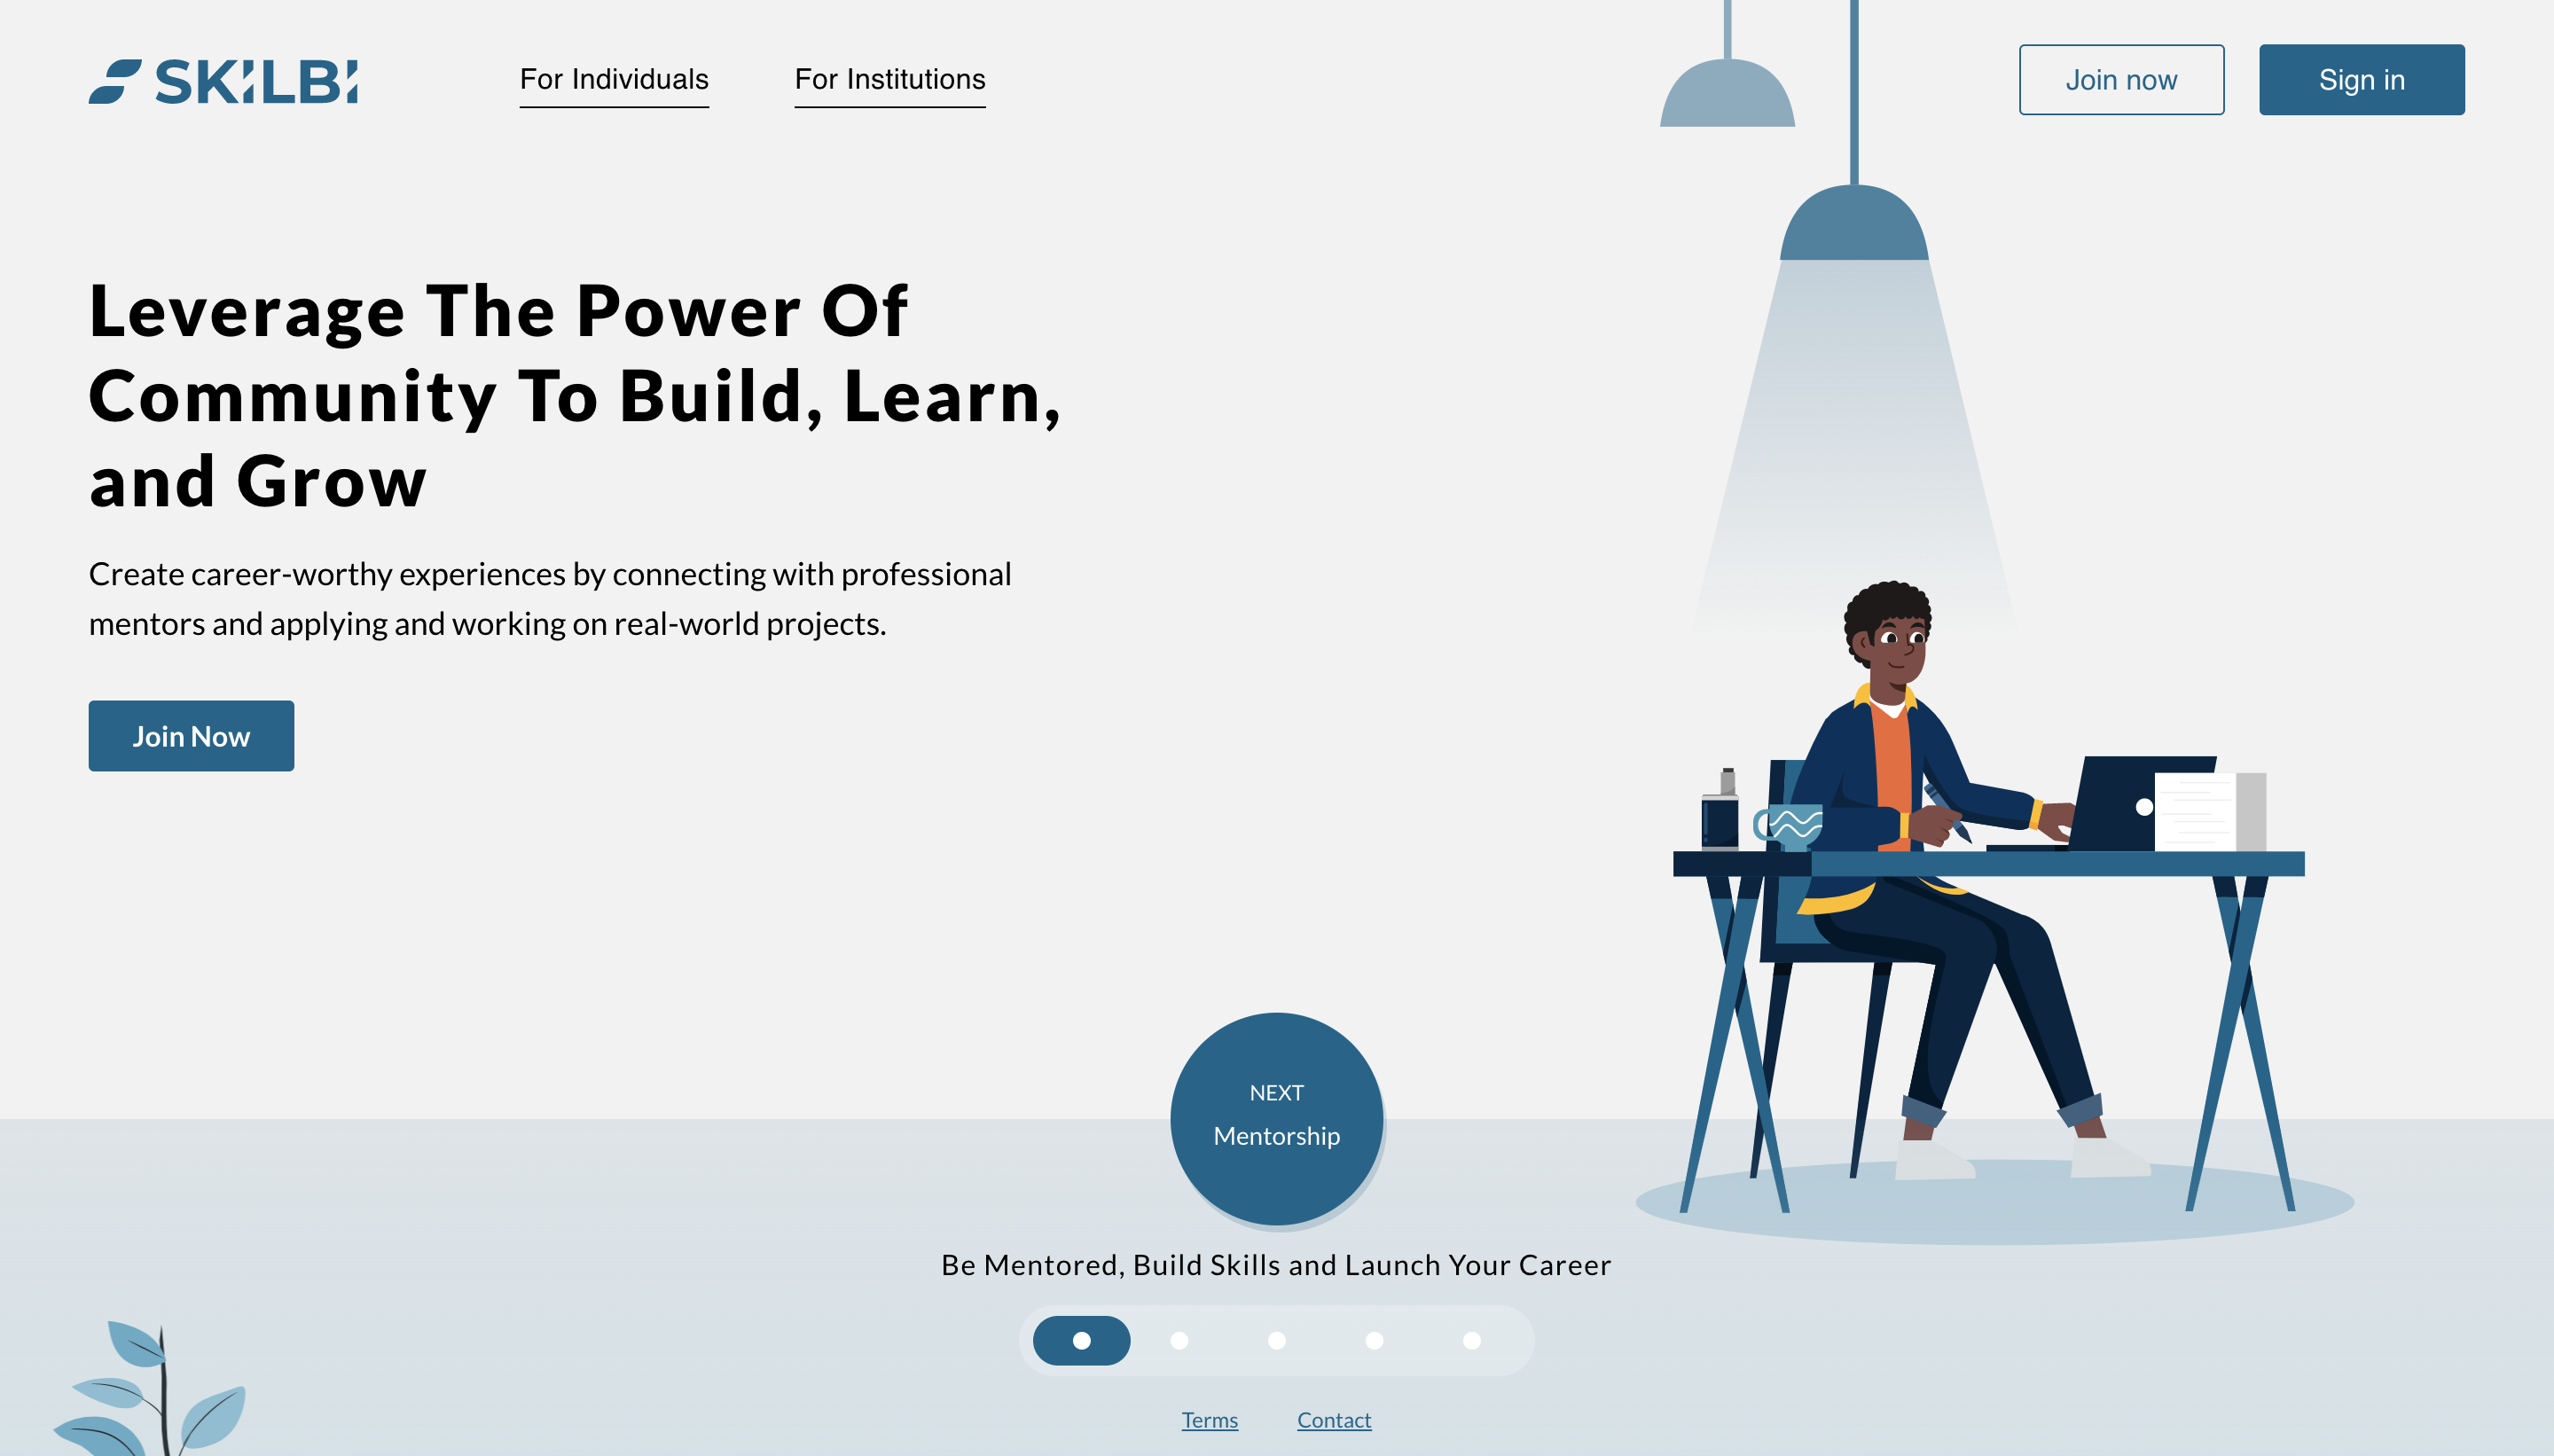
On the top right corner, click on the "join now" button to navigate to the next page.
Step 2: Select your account type
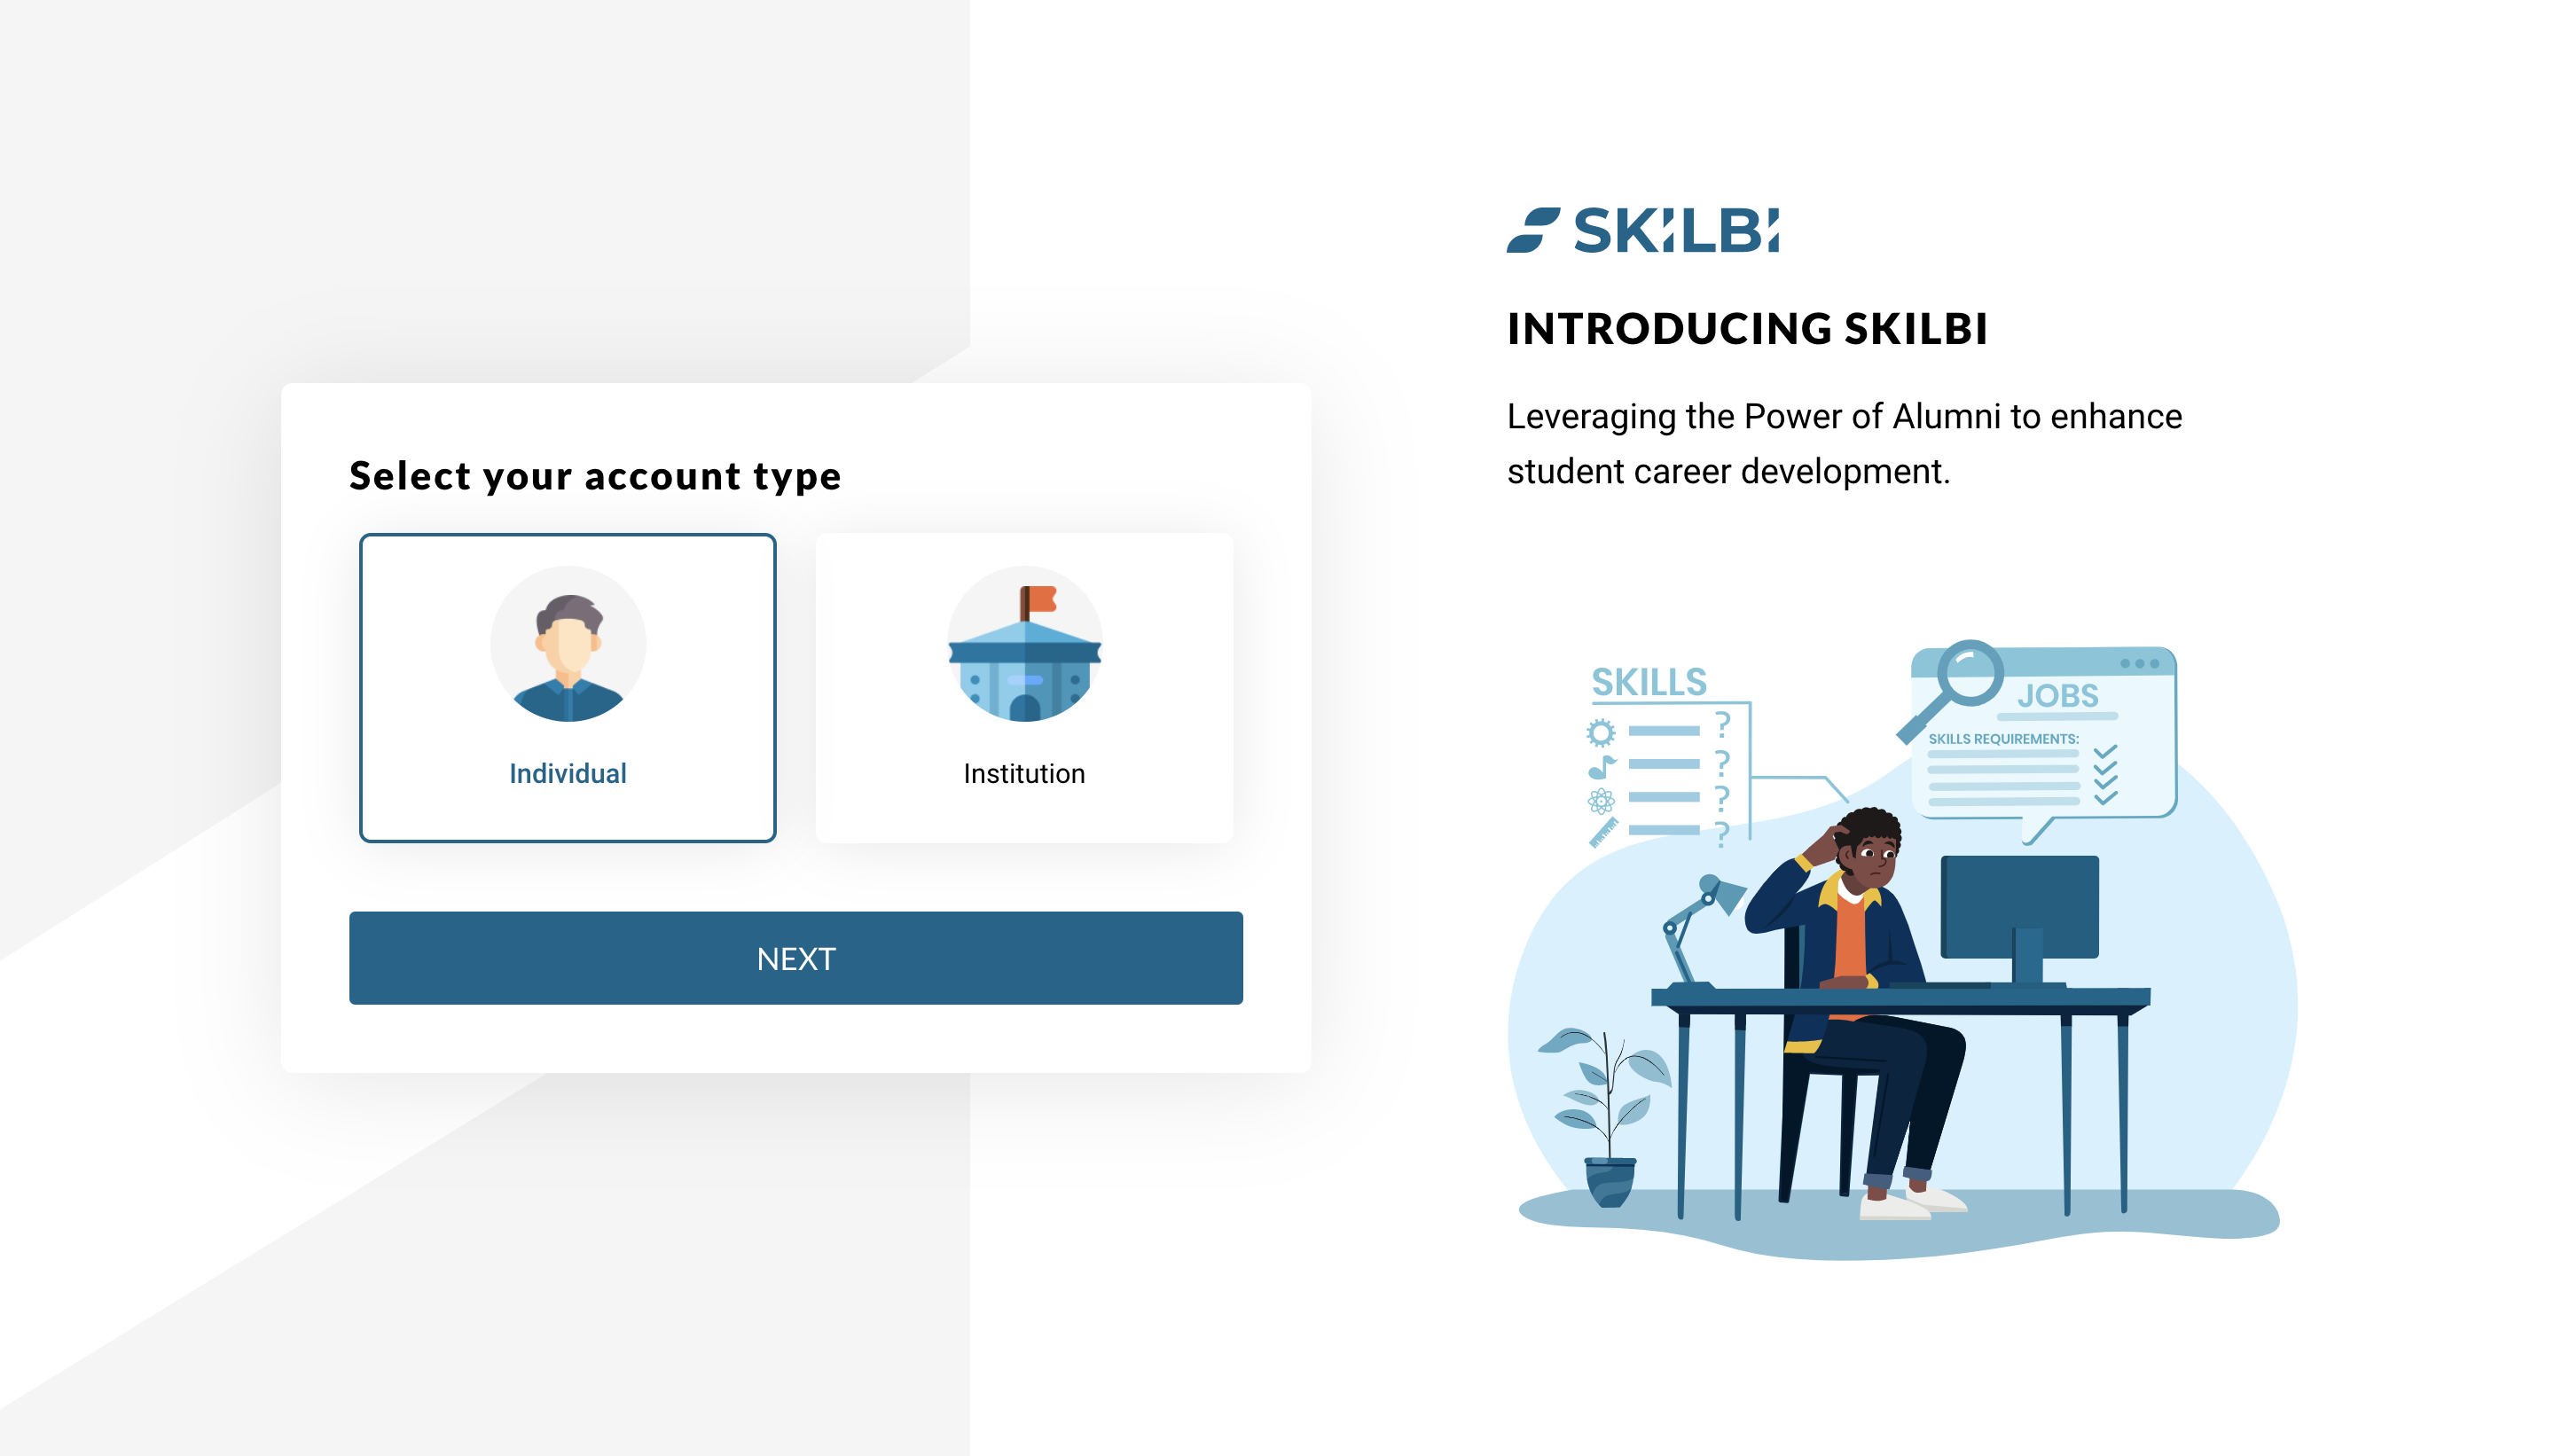
Select Individual to continue with this process.
Step 3: Verify your email
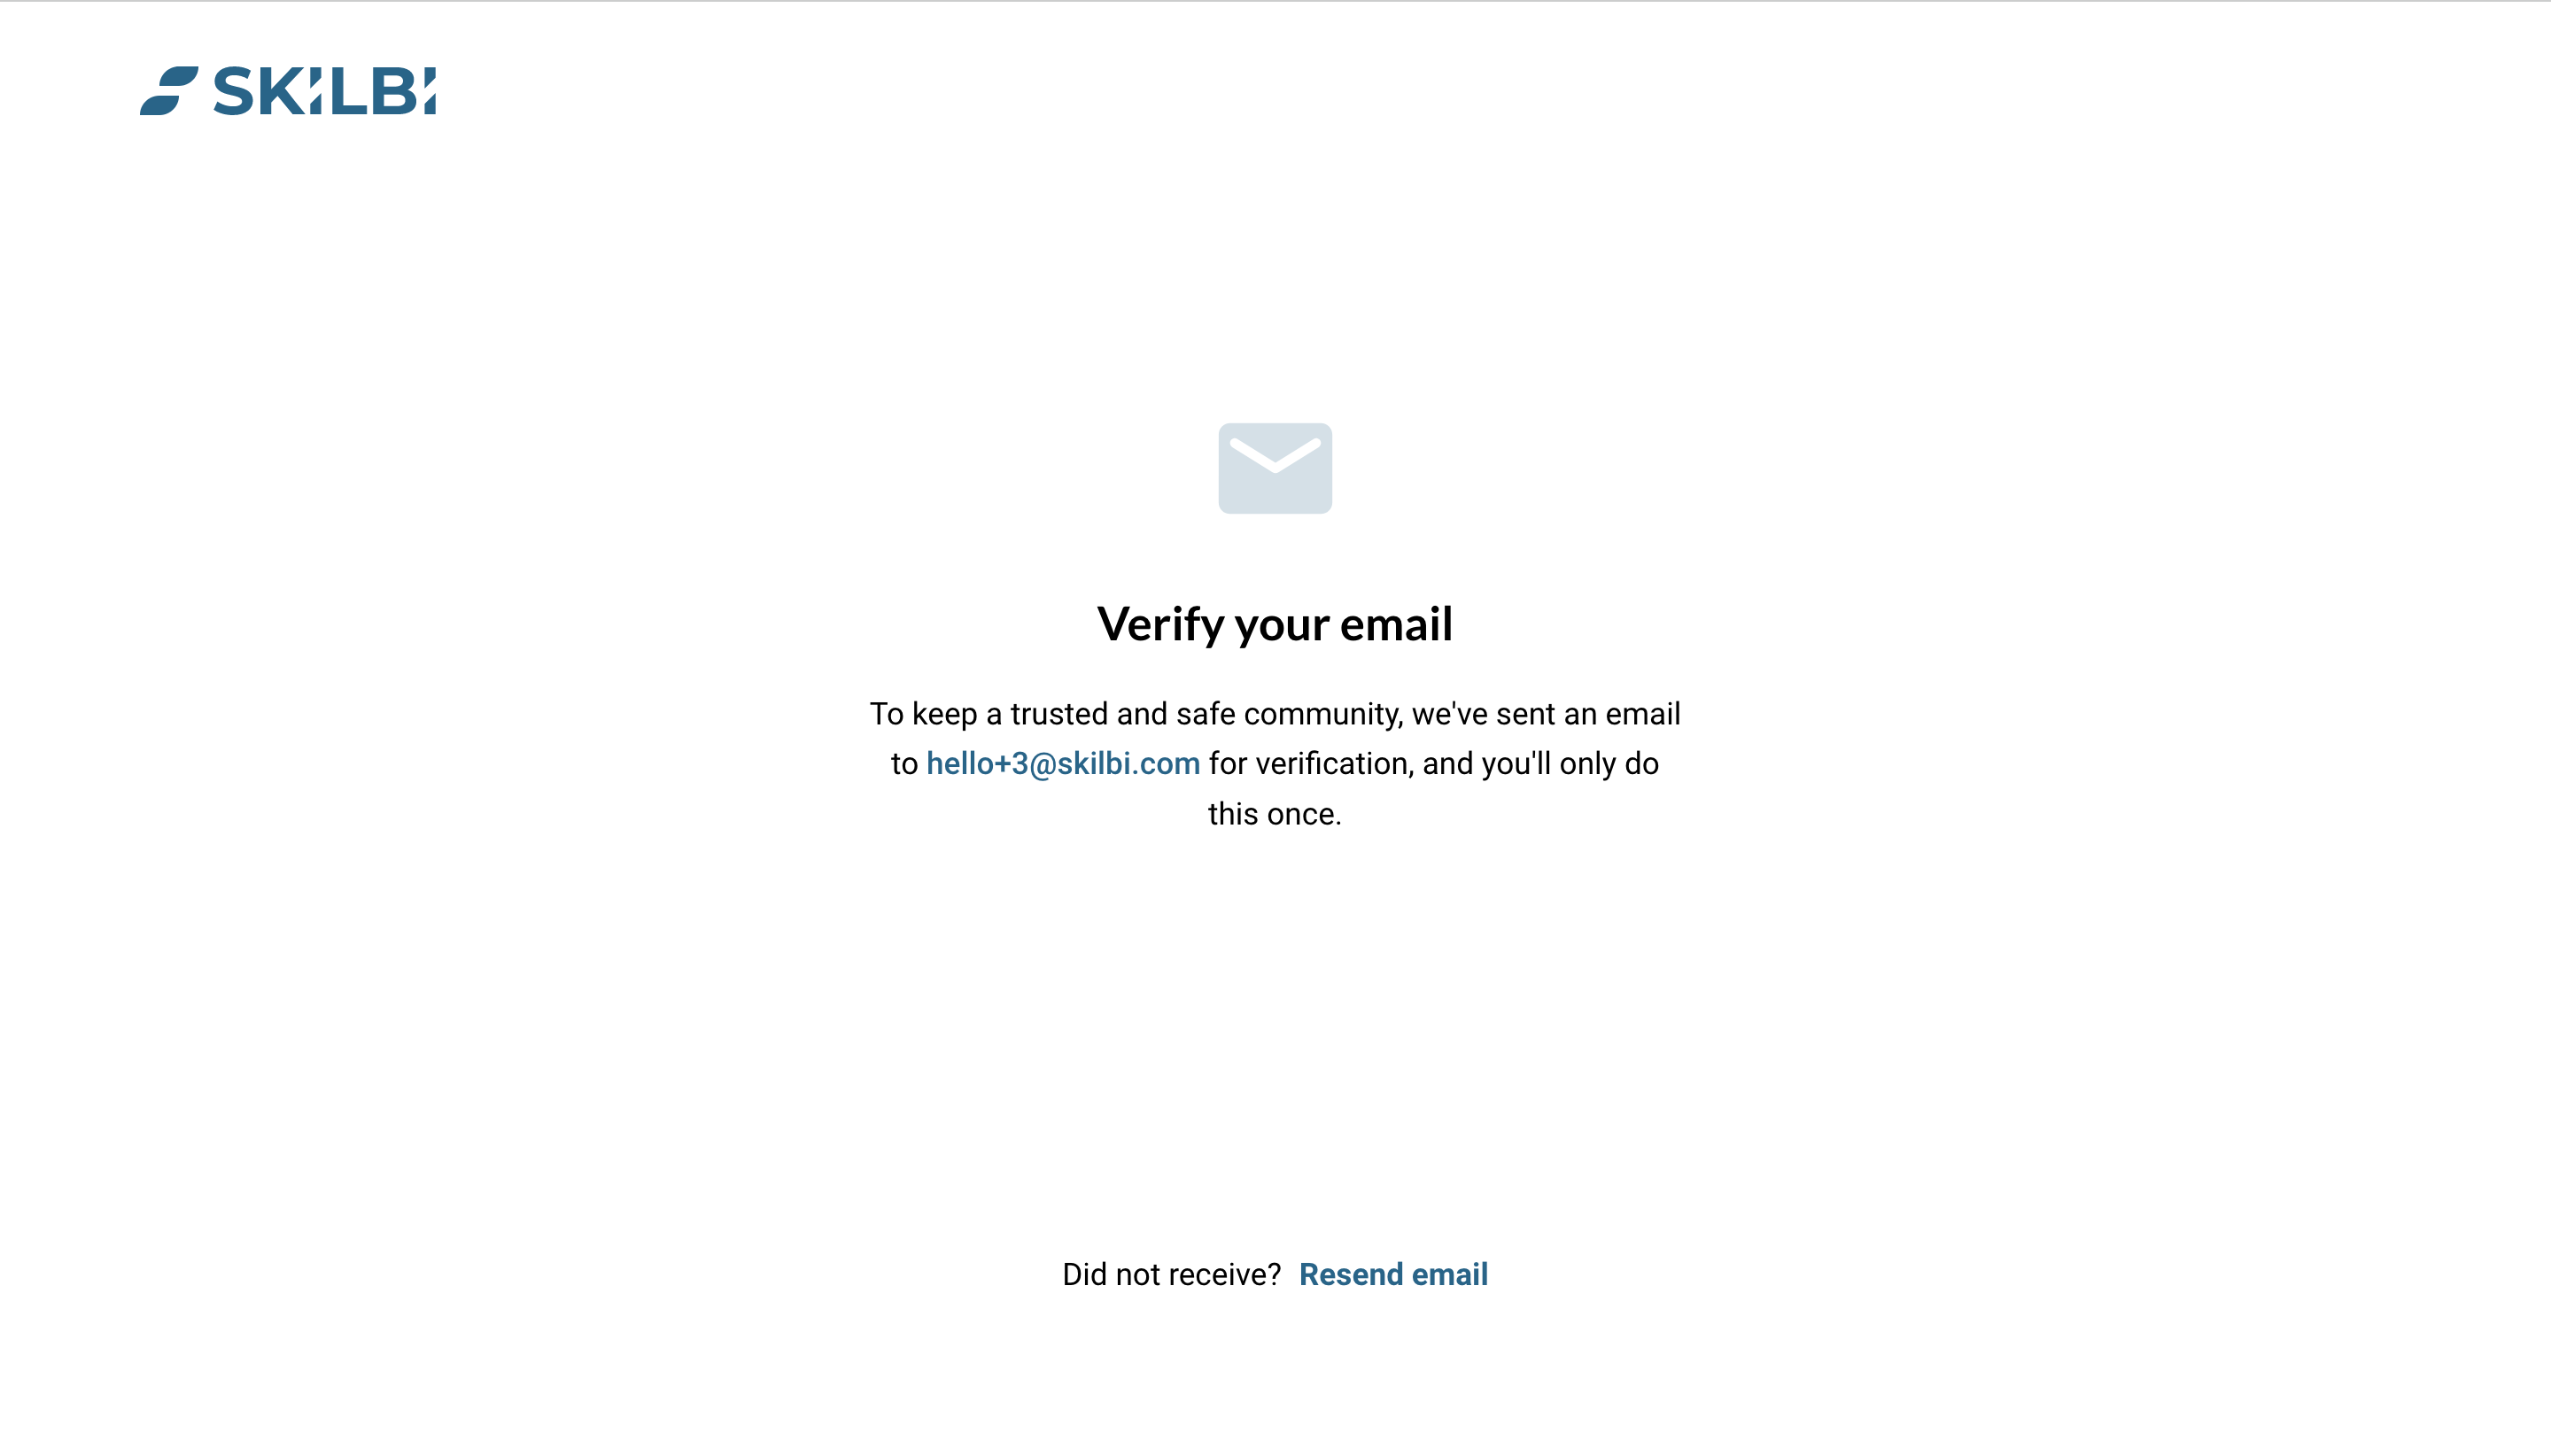
You will be sent an email to verify your email account. Go to your inbox section to verify your account.
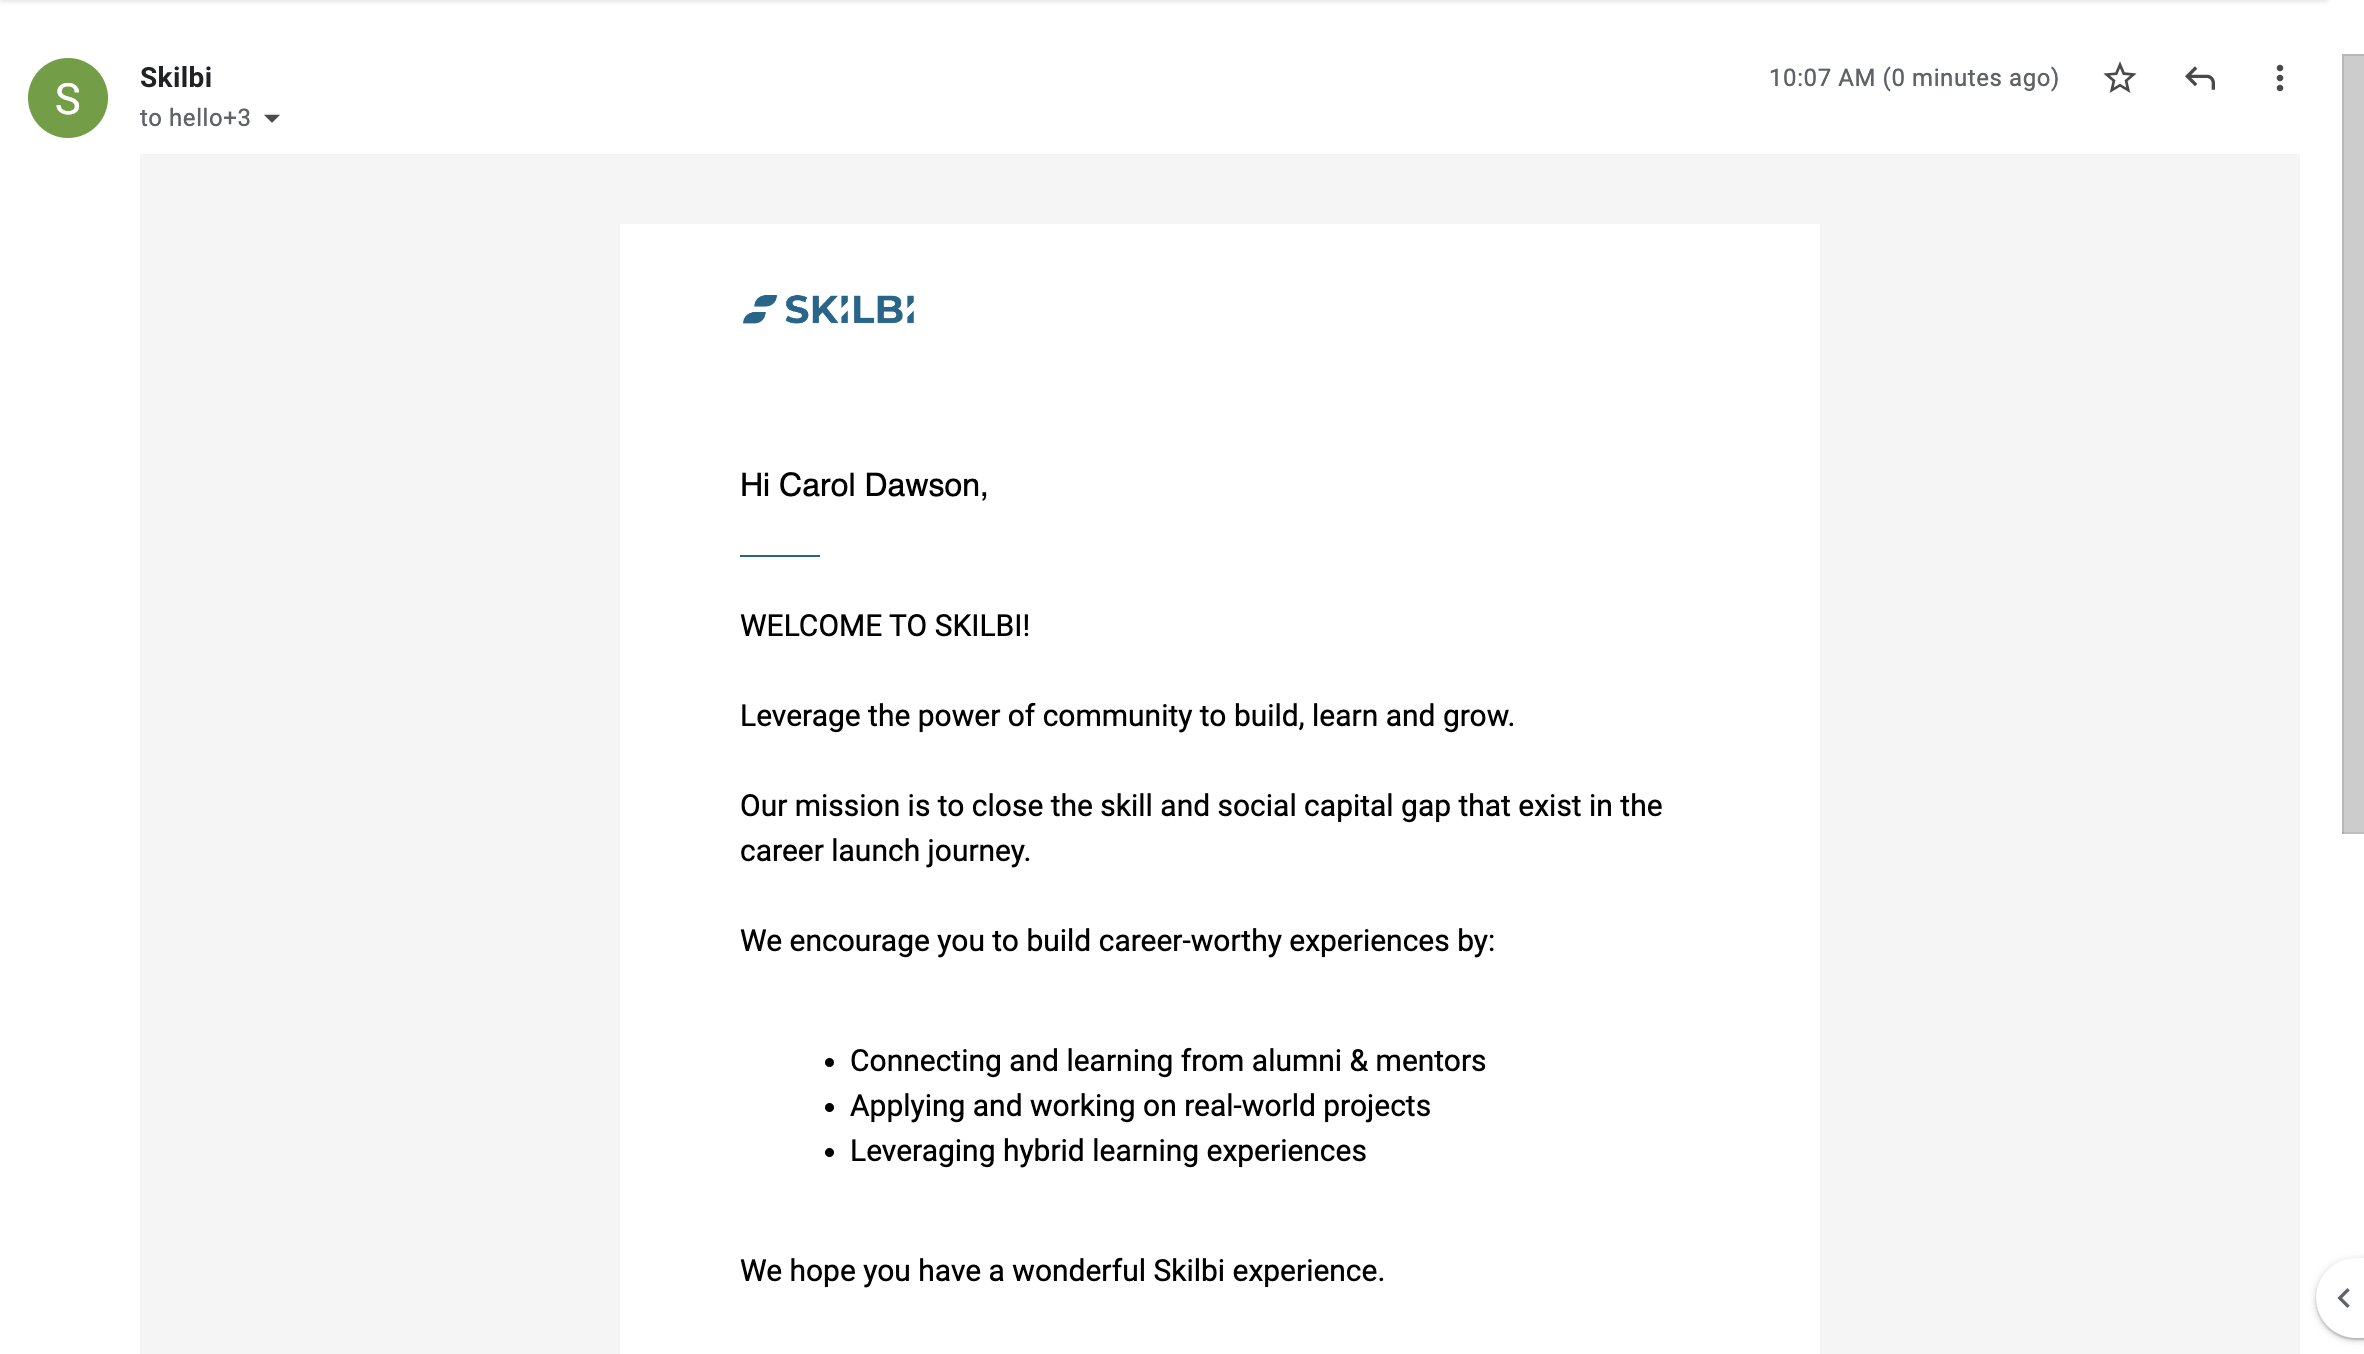
First, you will get a "welcome" email from Skilbi.
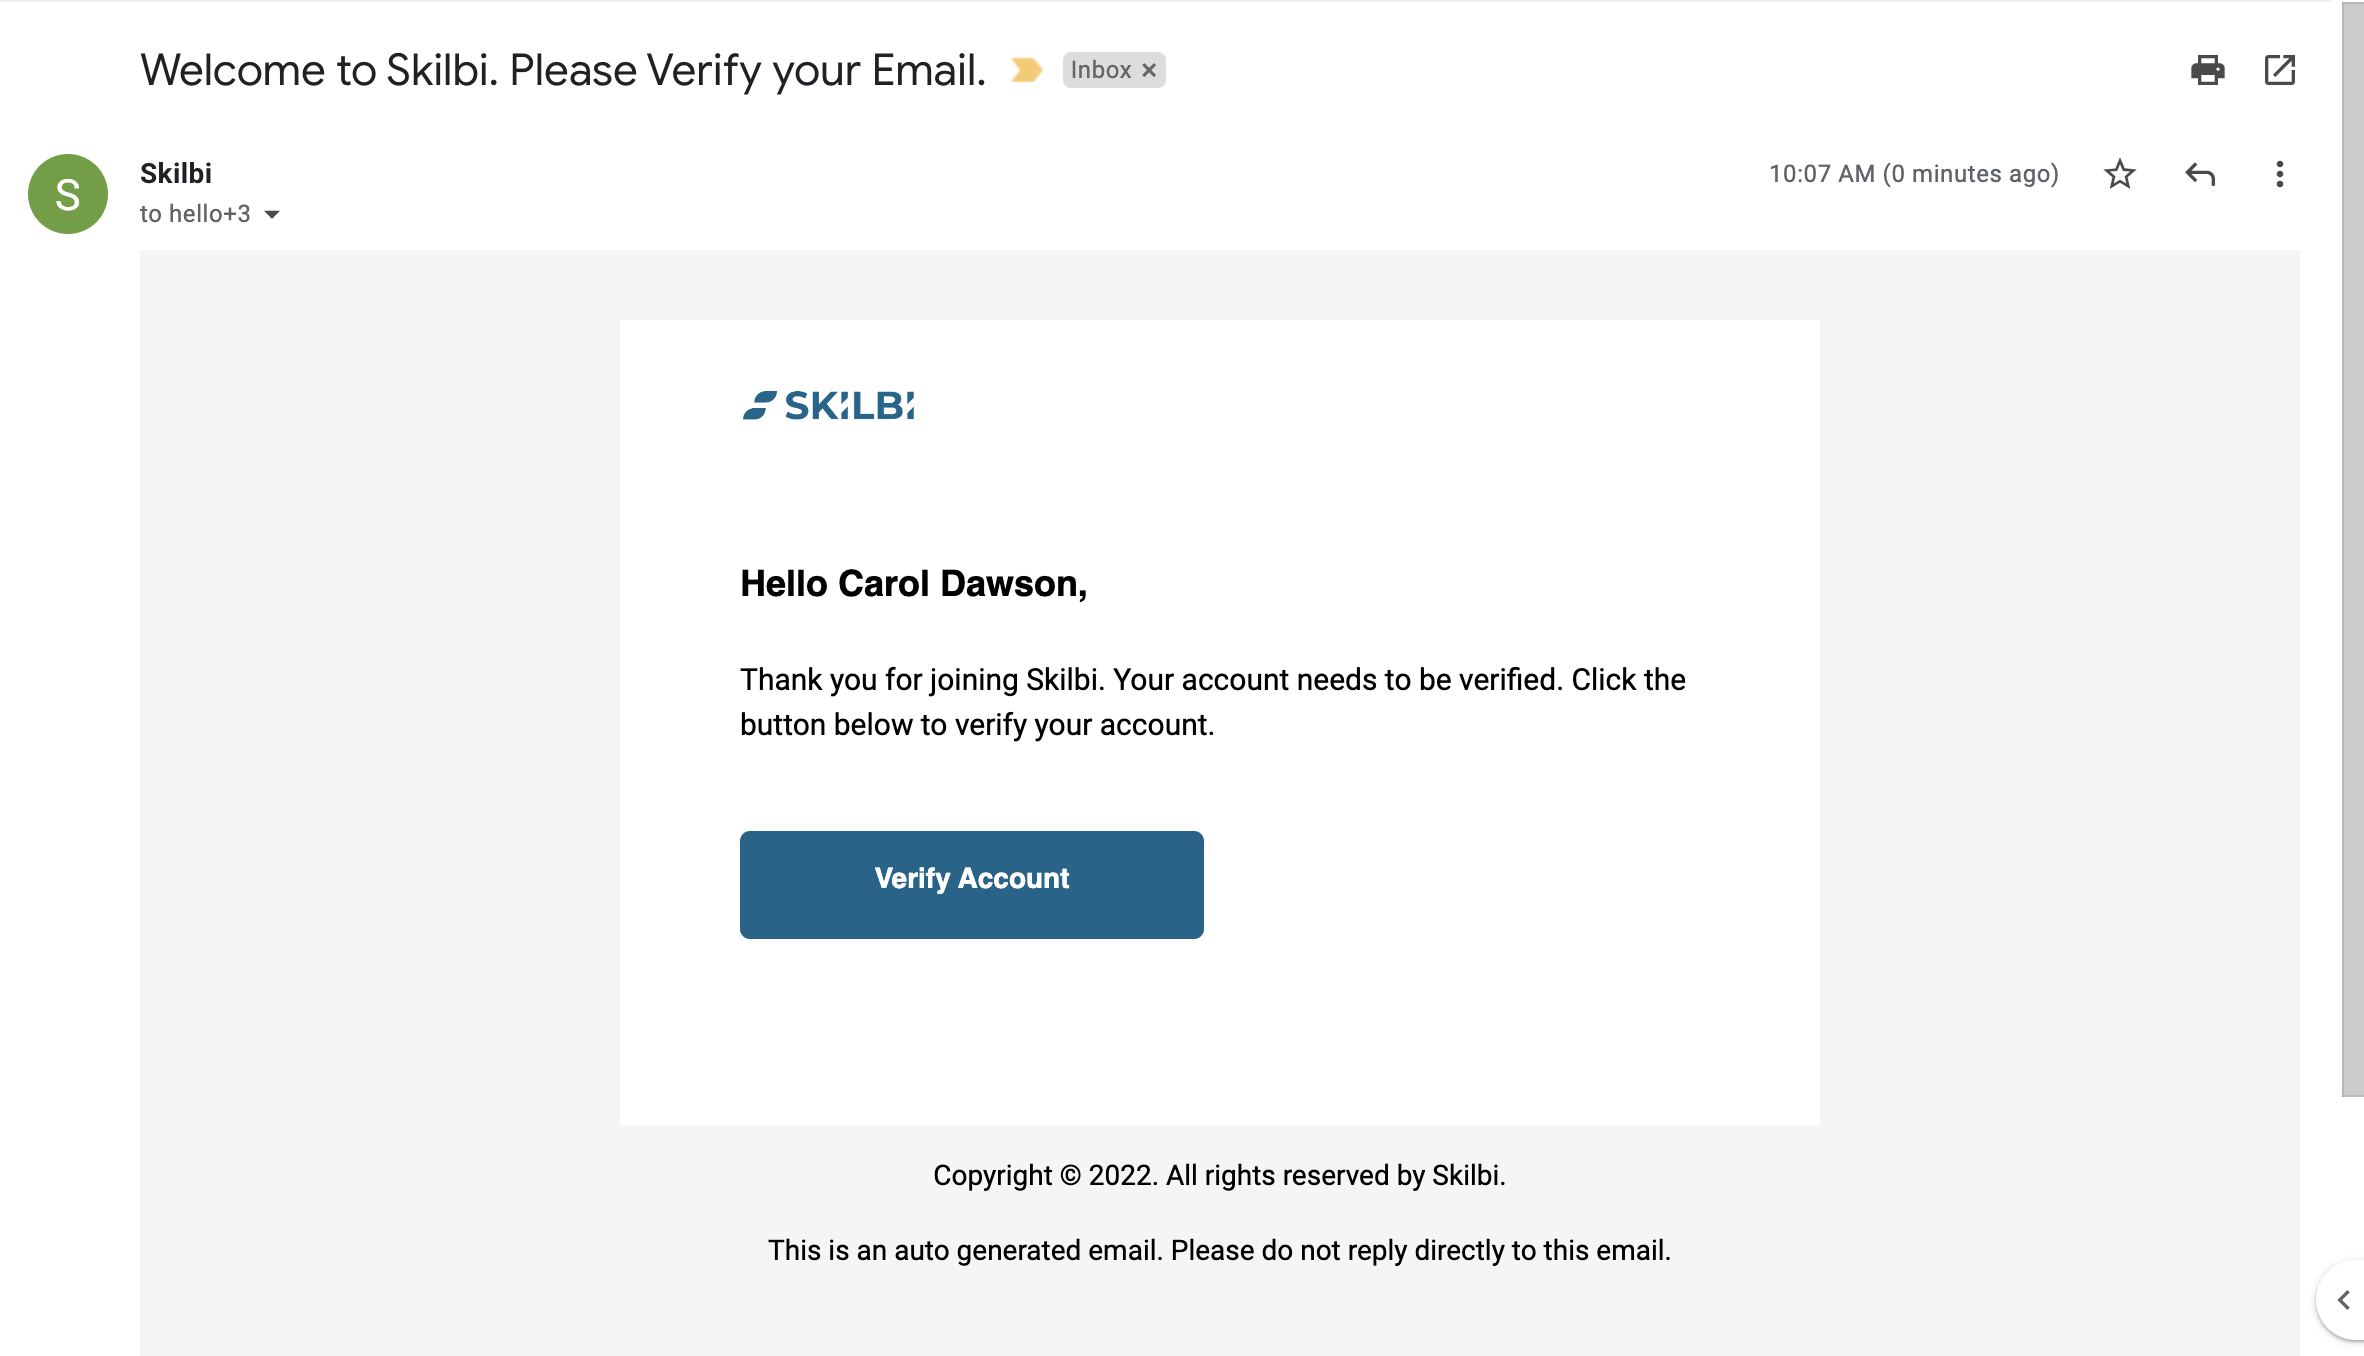
Then you will get a verification email. Click on the "verify account" button to verify your account.
Step 4: Select your role
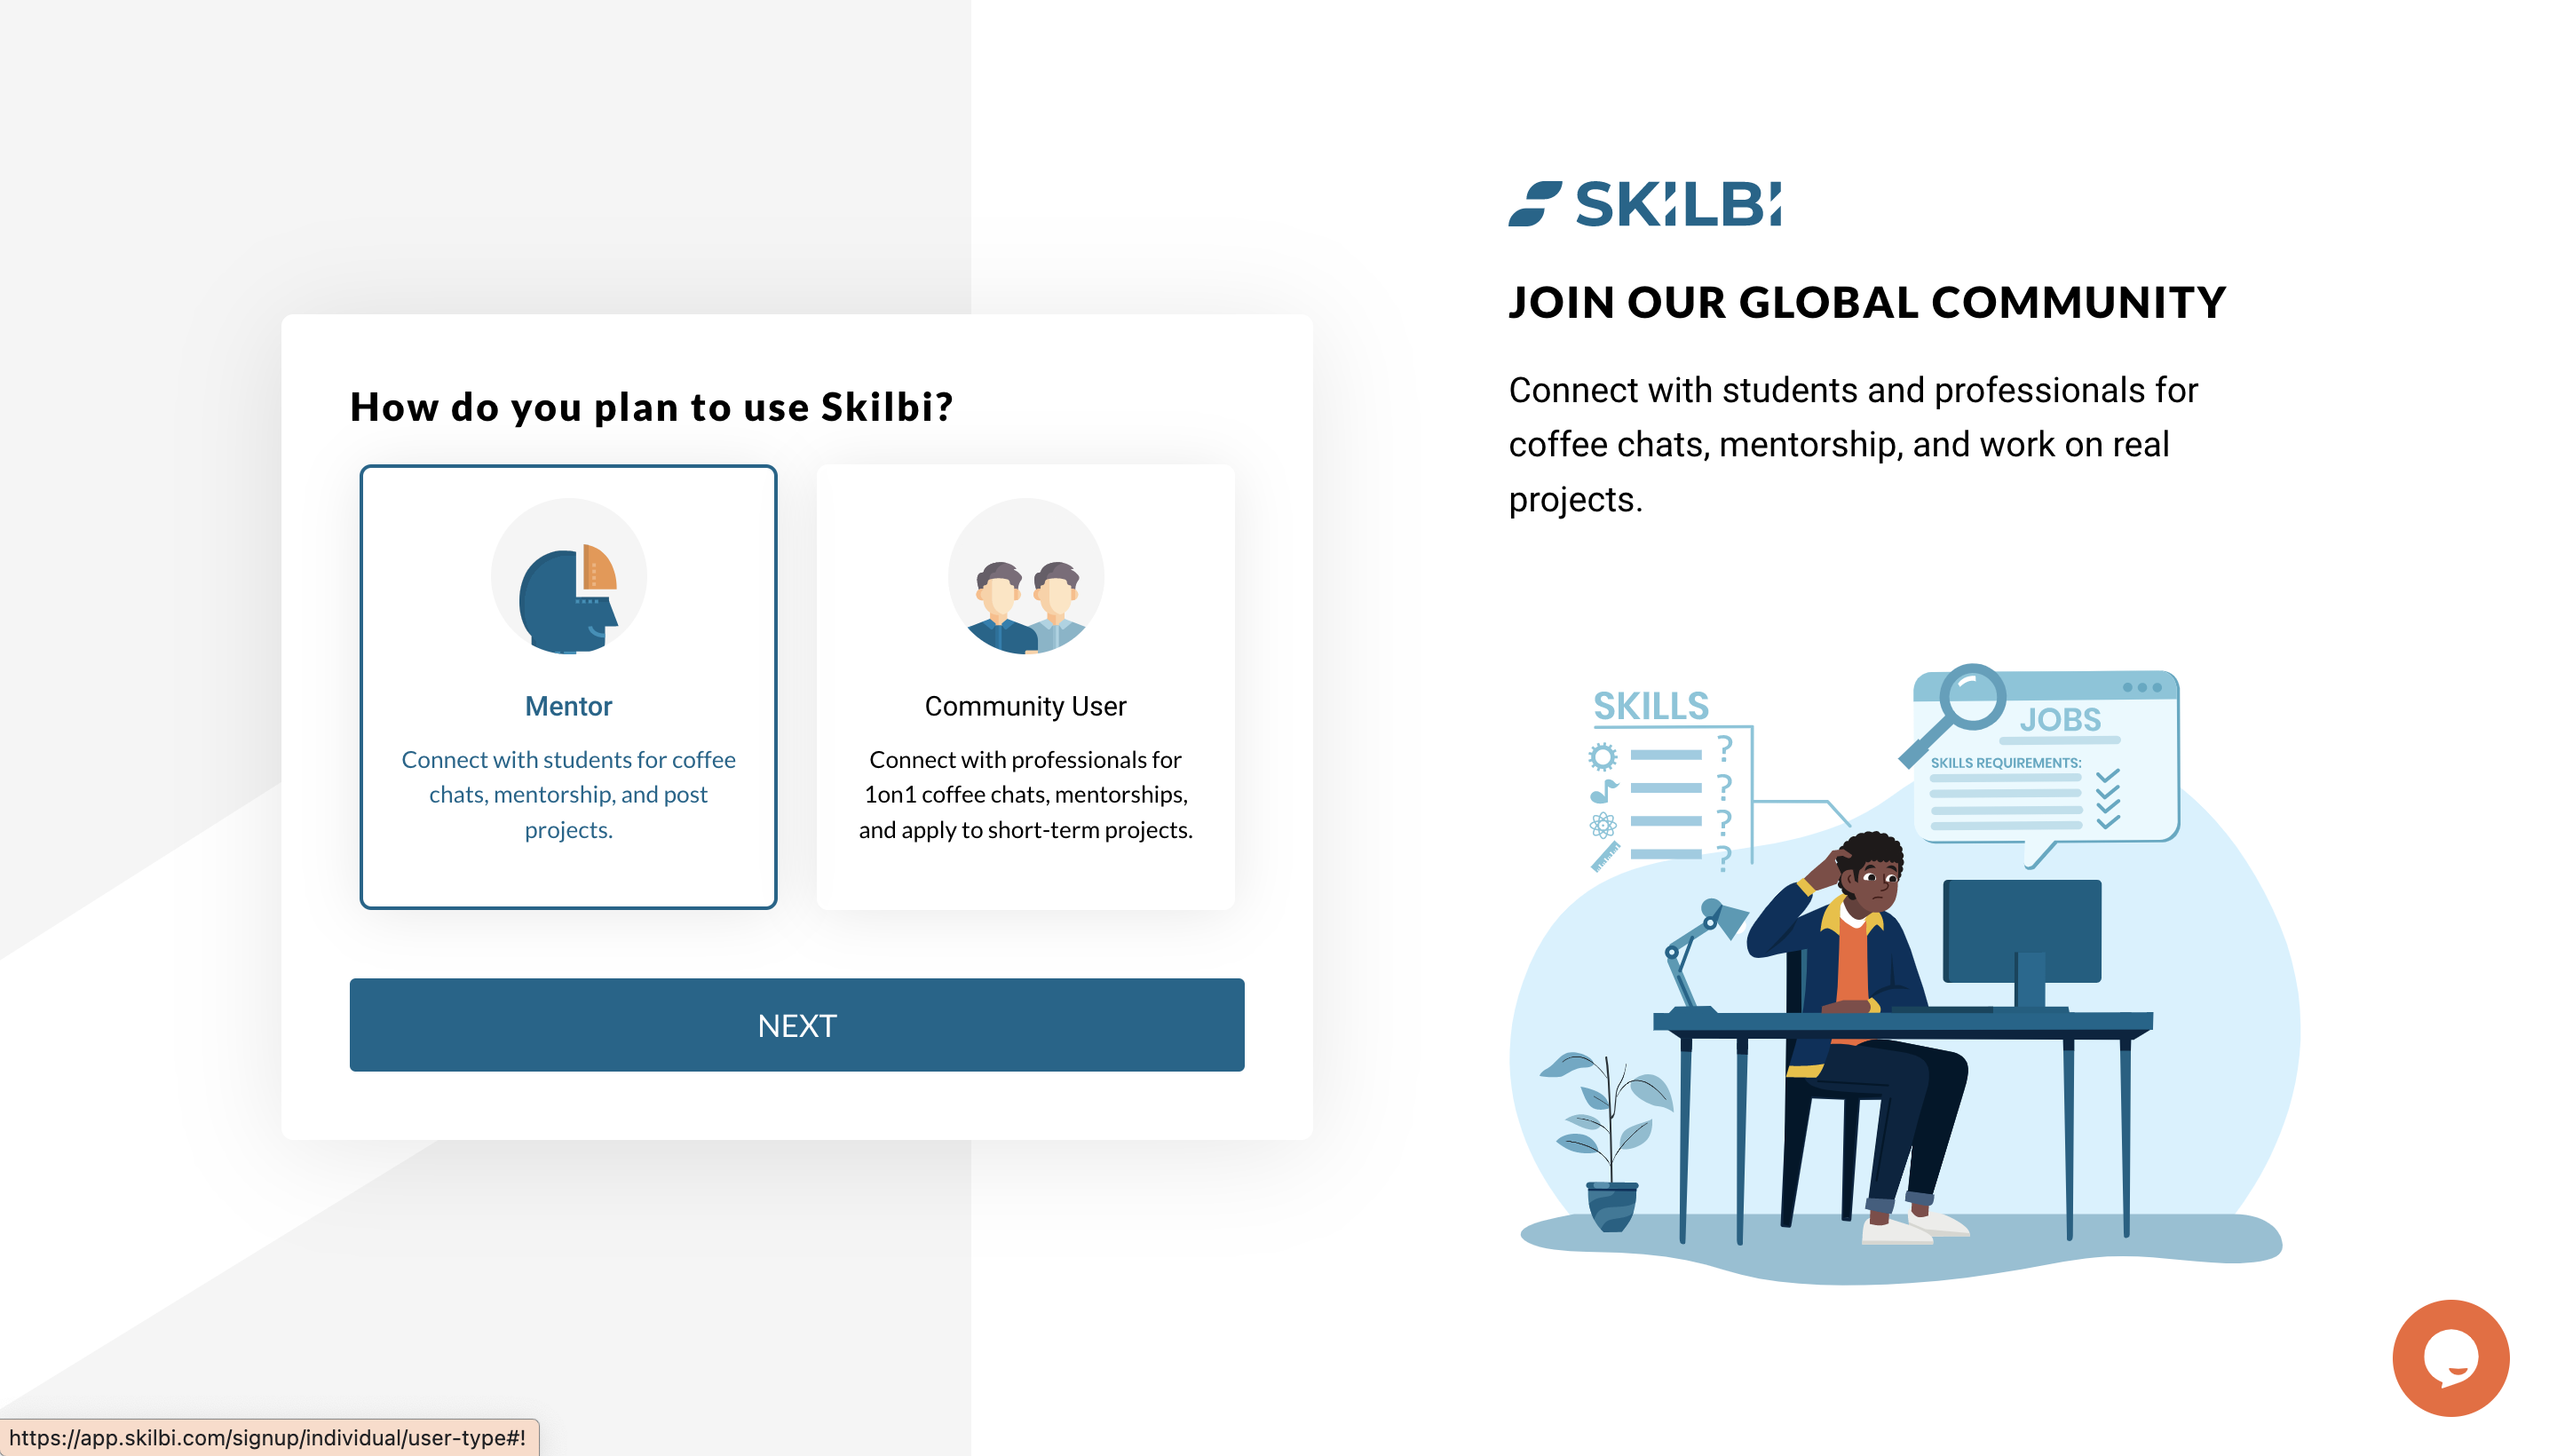
If you are signing up as a mentor, please select the "Mentor" option.
Step 5: Select your Title
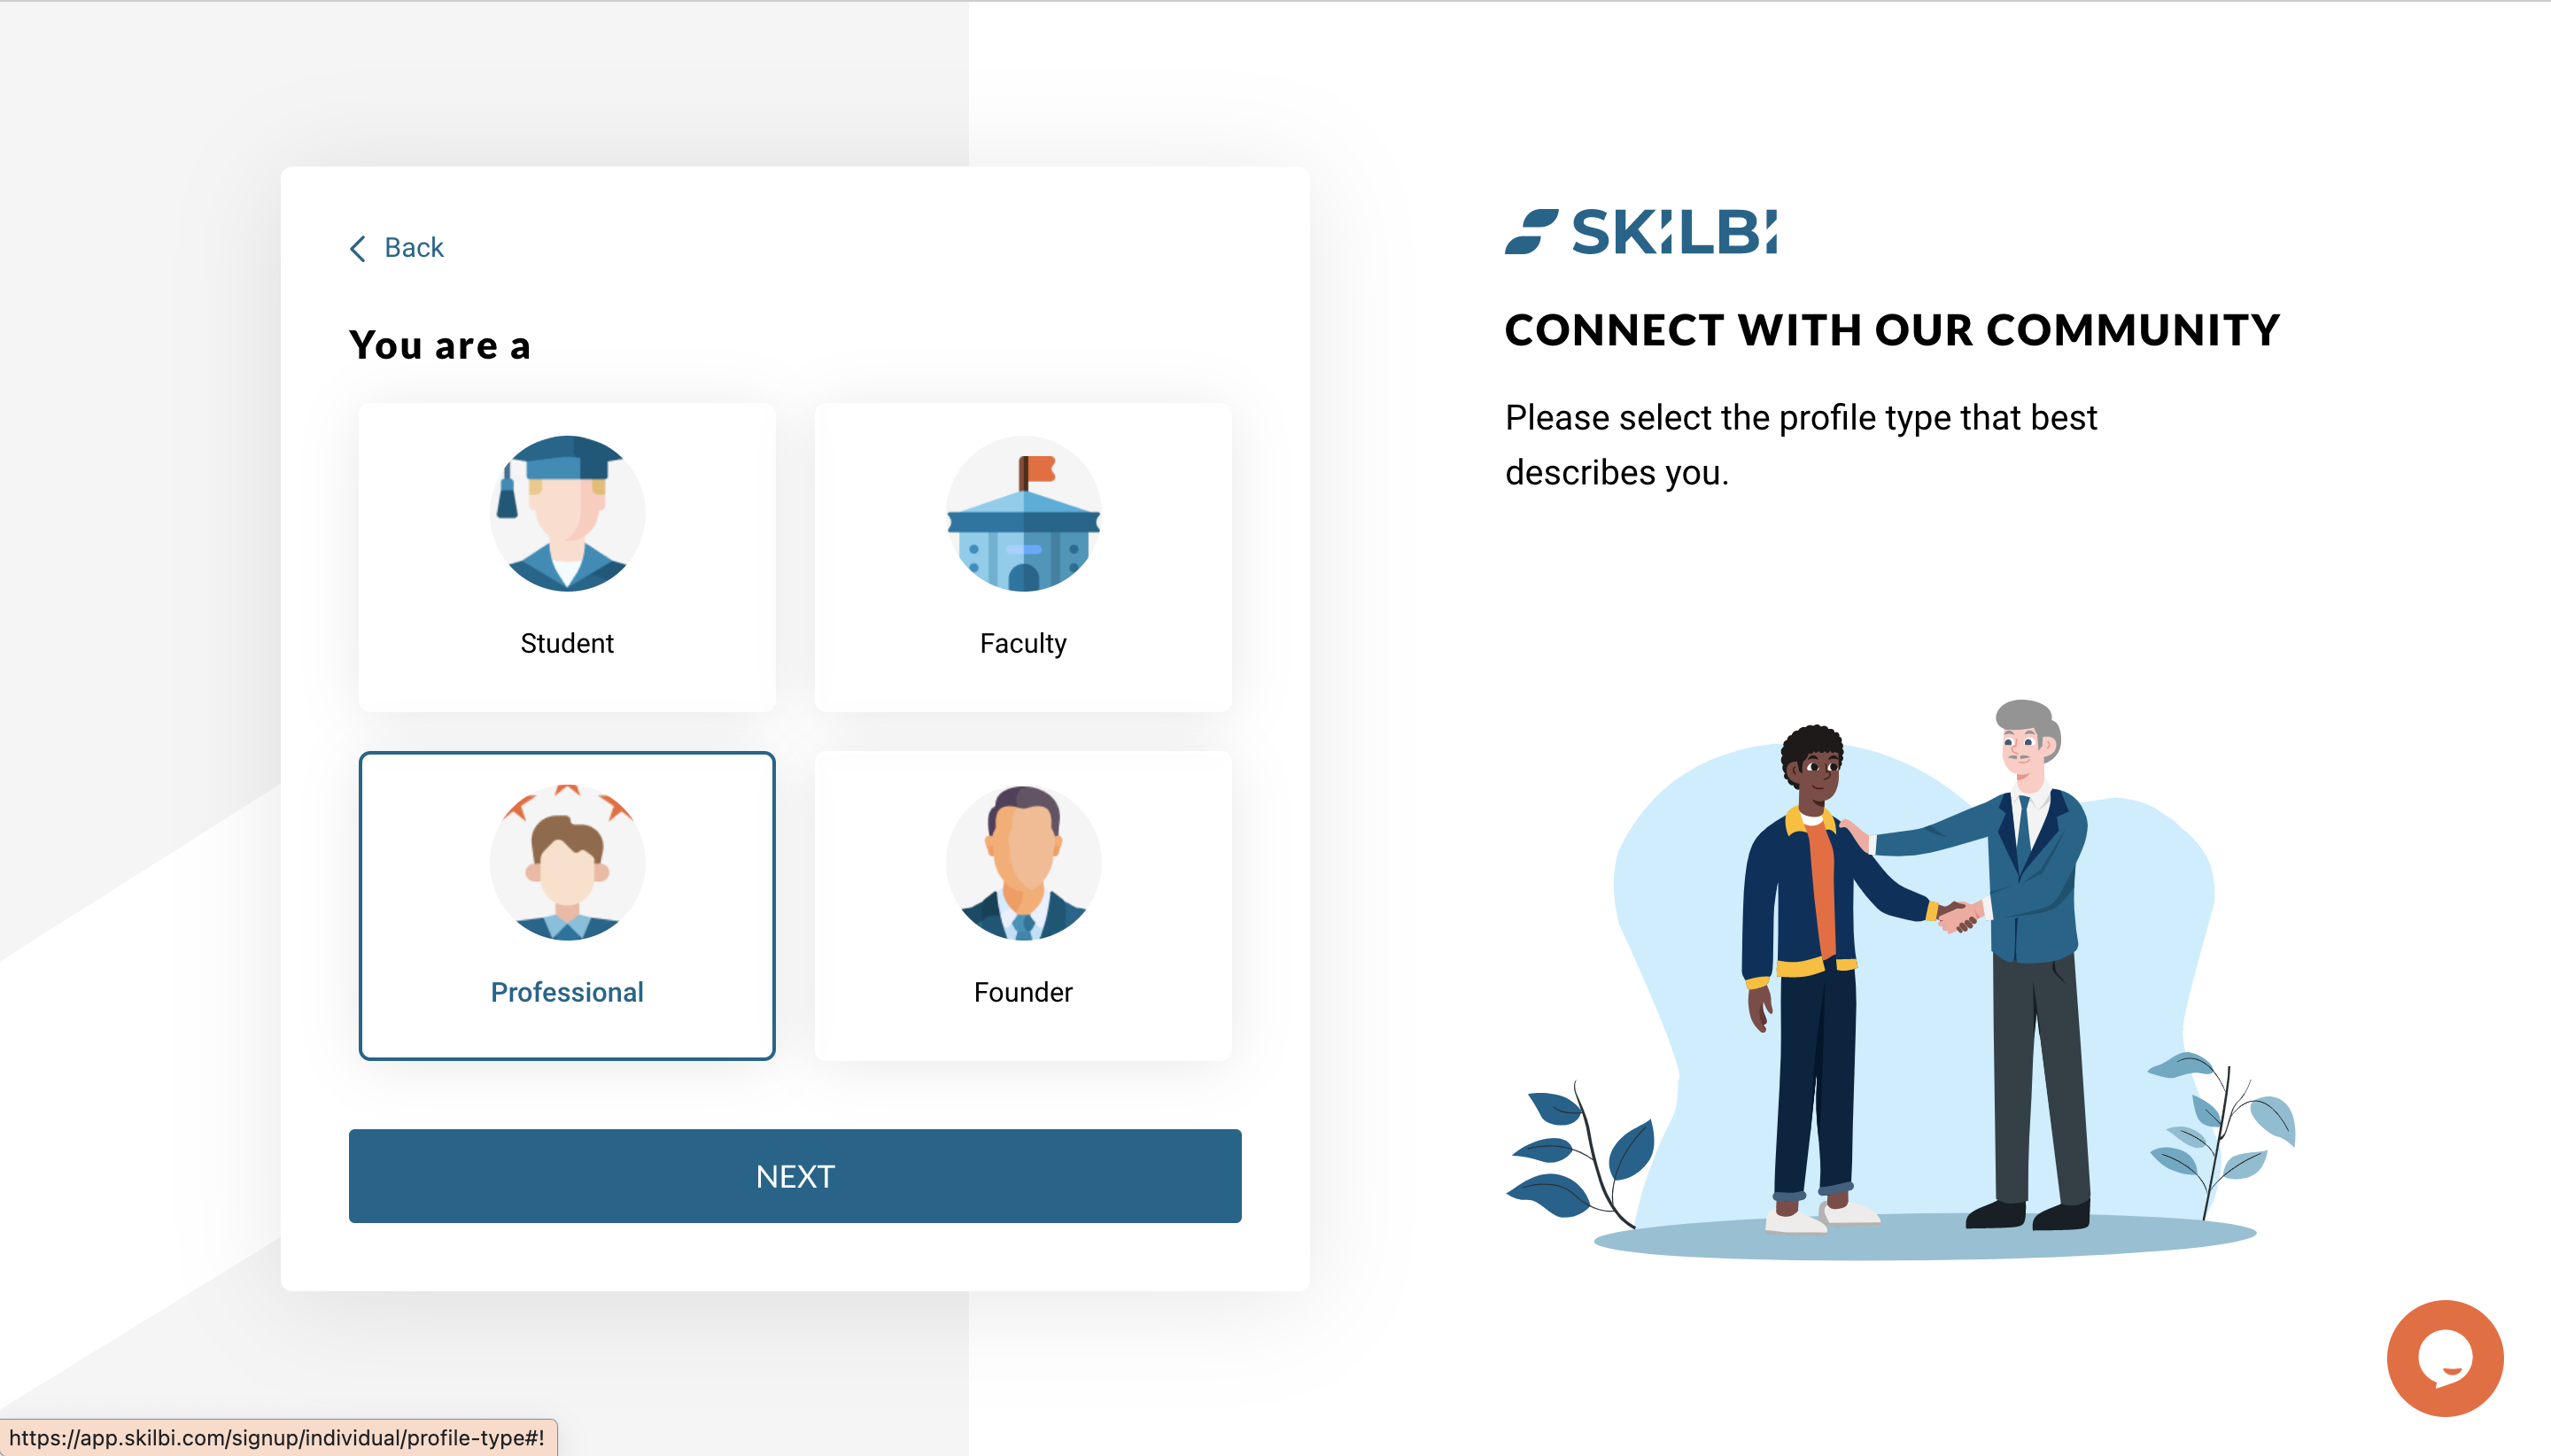
Select your profile type as seen in the screenshot above.
Step 6: Upload your photo
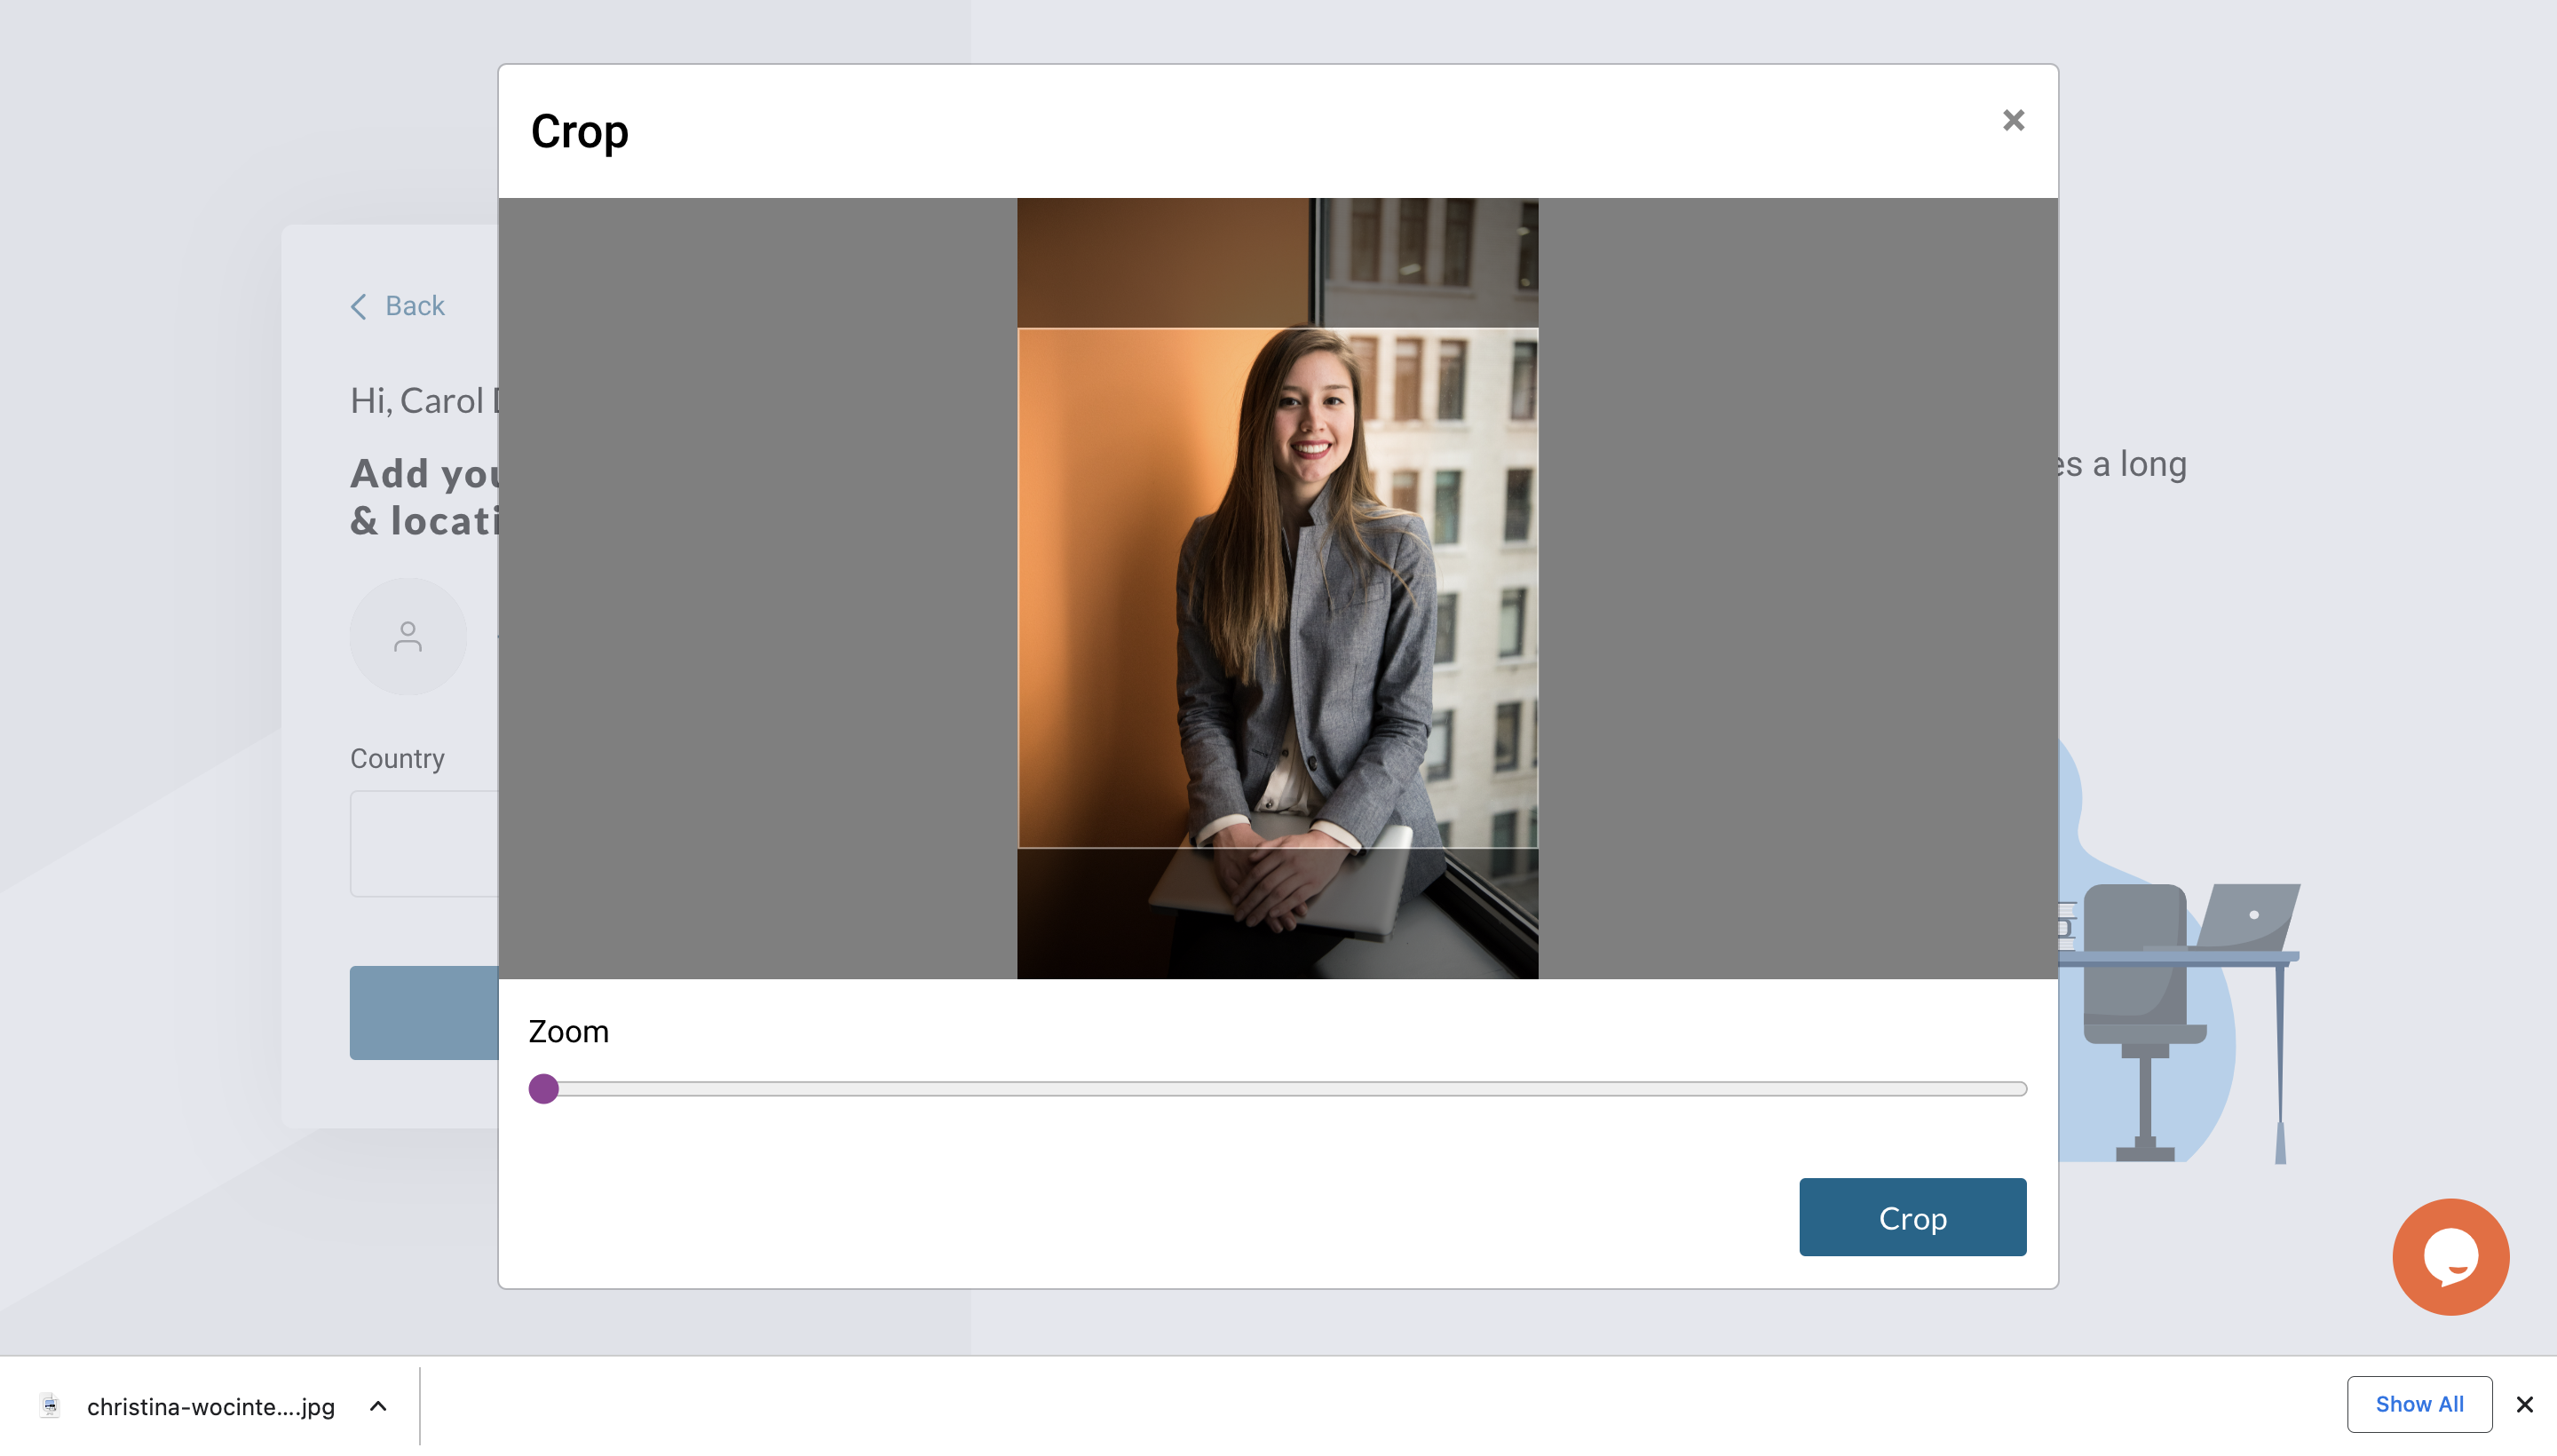
Proceed to upload your photo to make your profile more credible. We only add mentors with a profile picture.
Step 7: Location
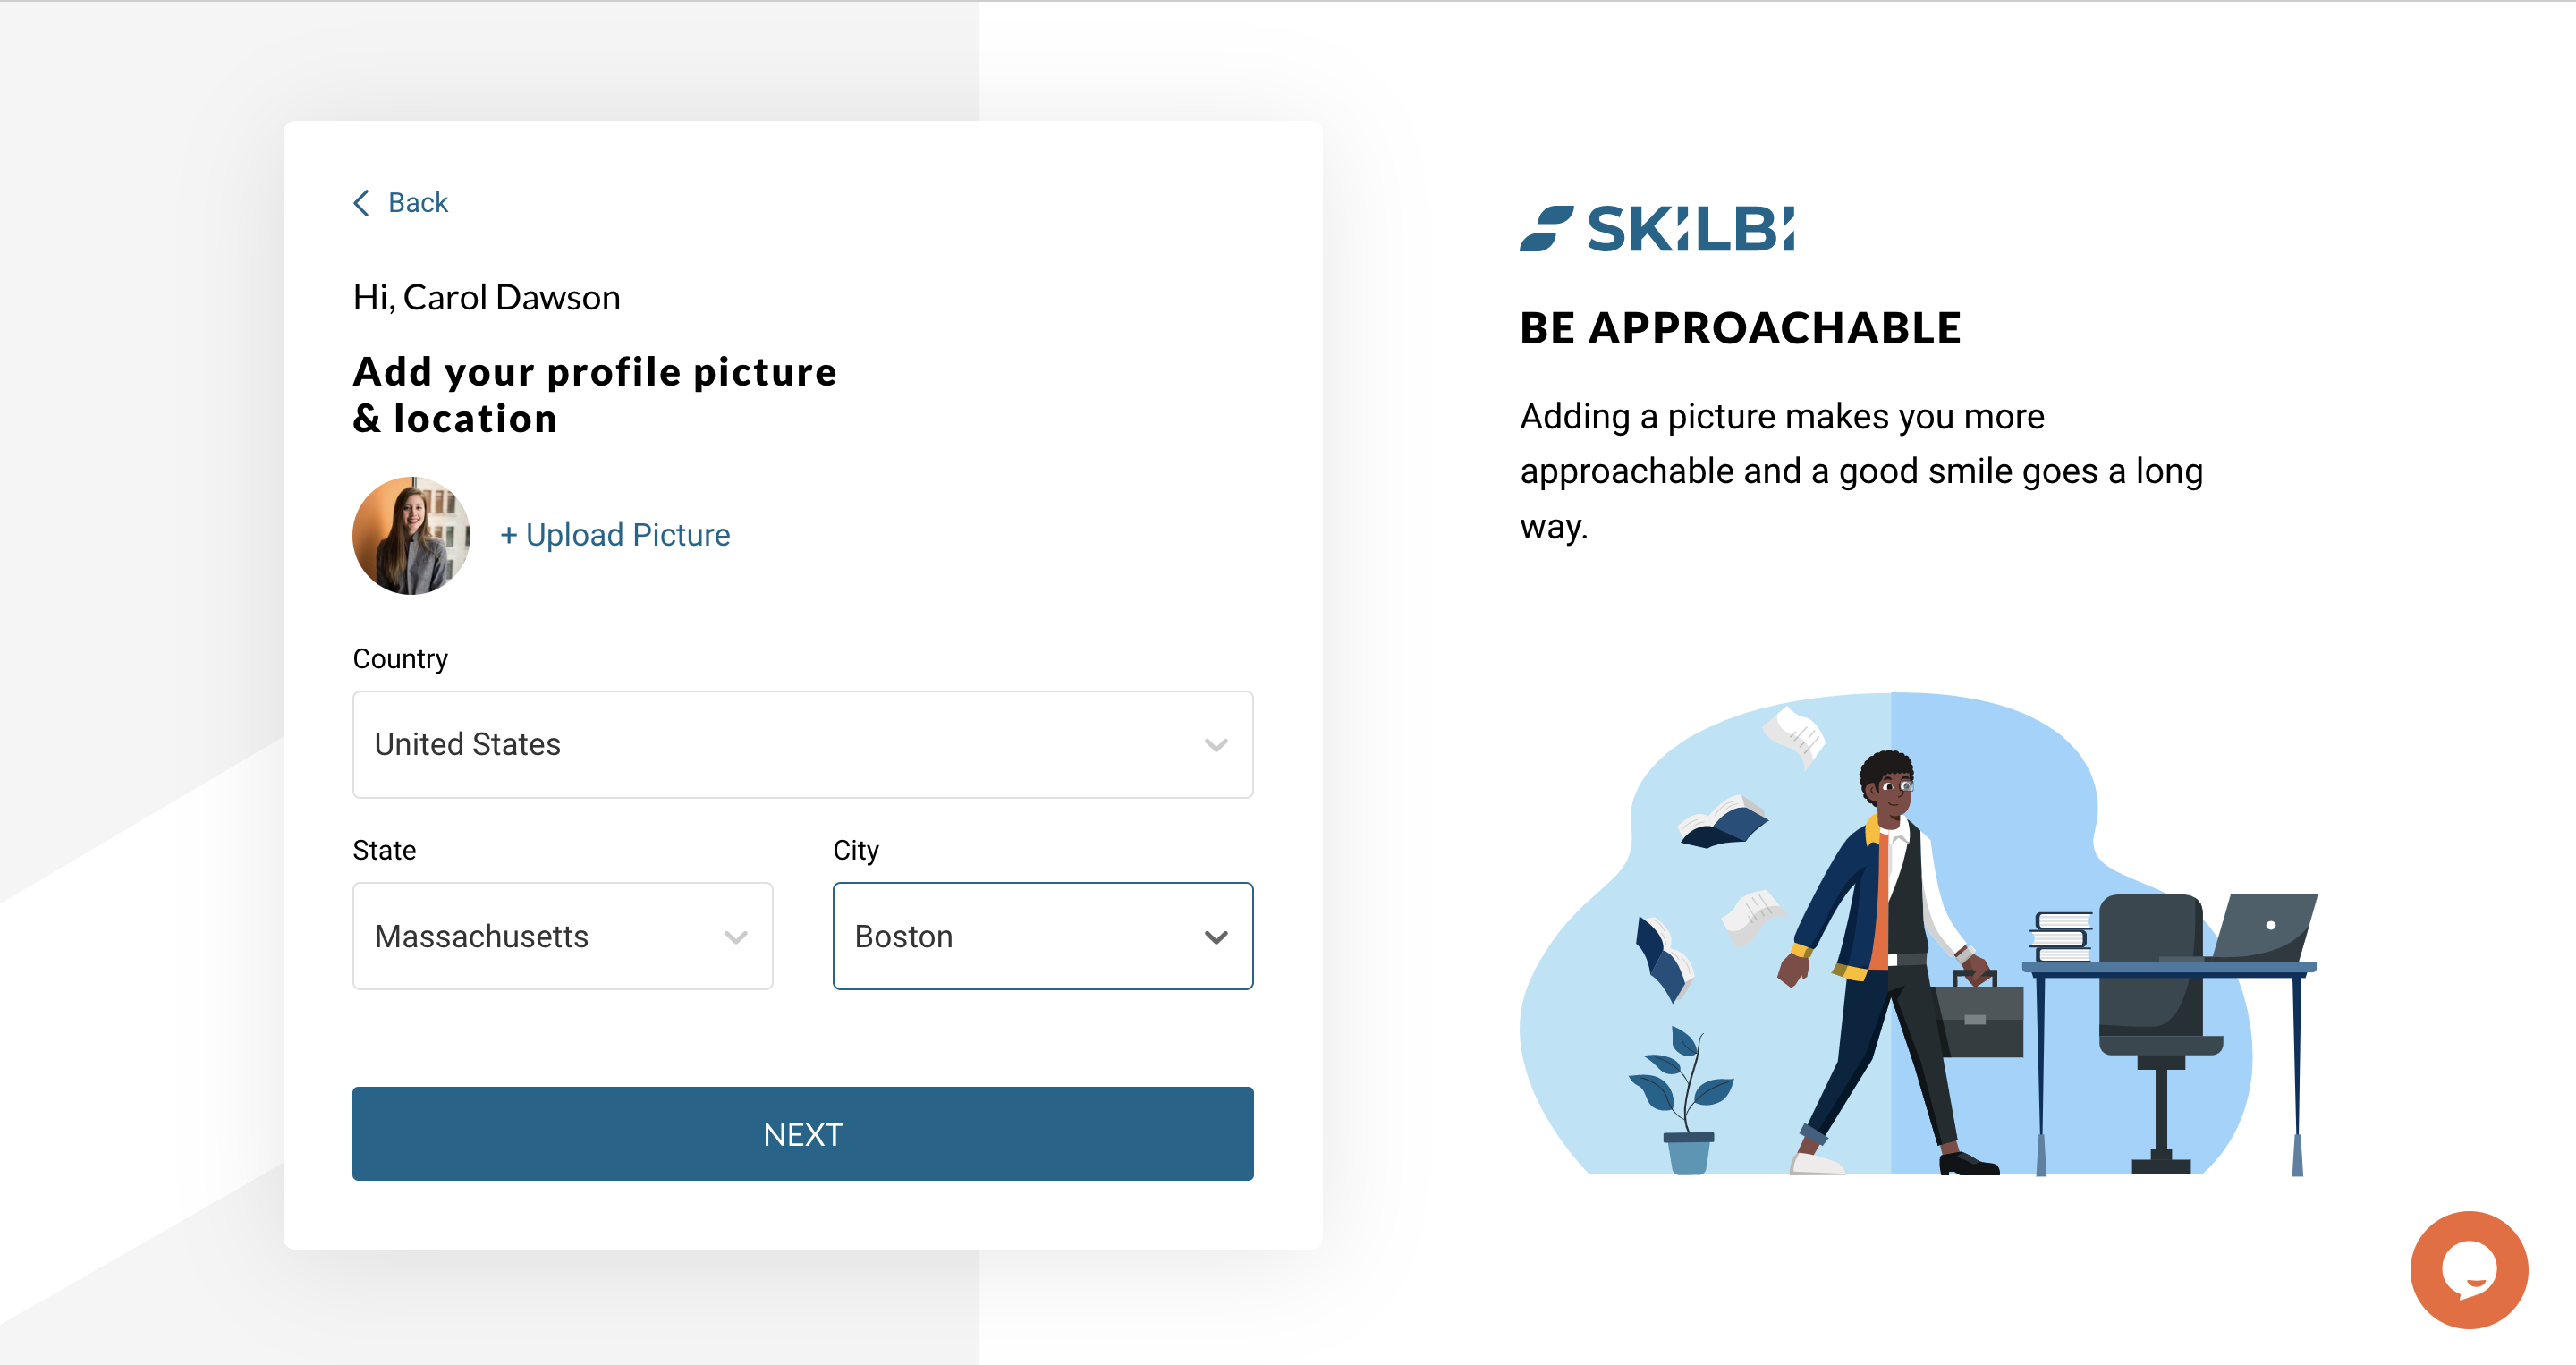
Next, fill in your location, as well as on option to add/update your pic.
Step 8: Skills & Activities
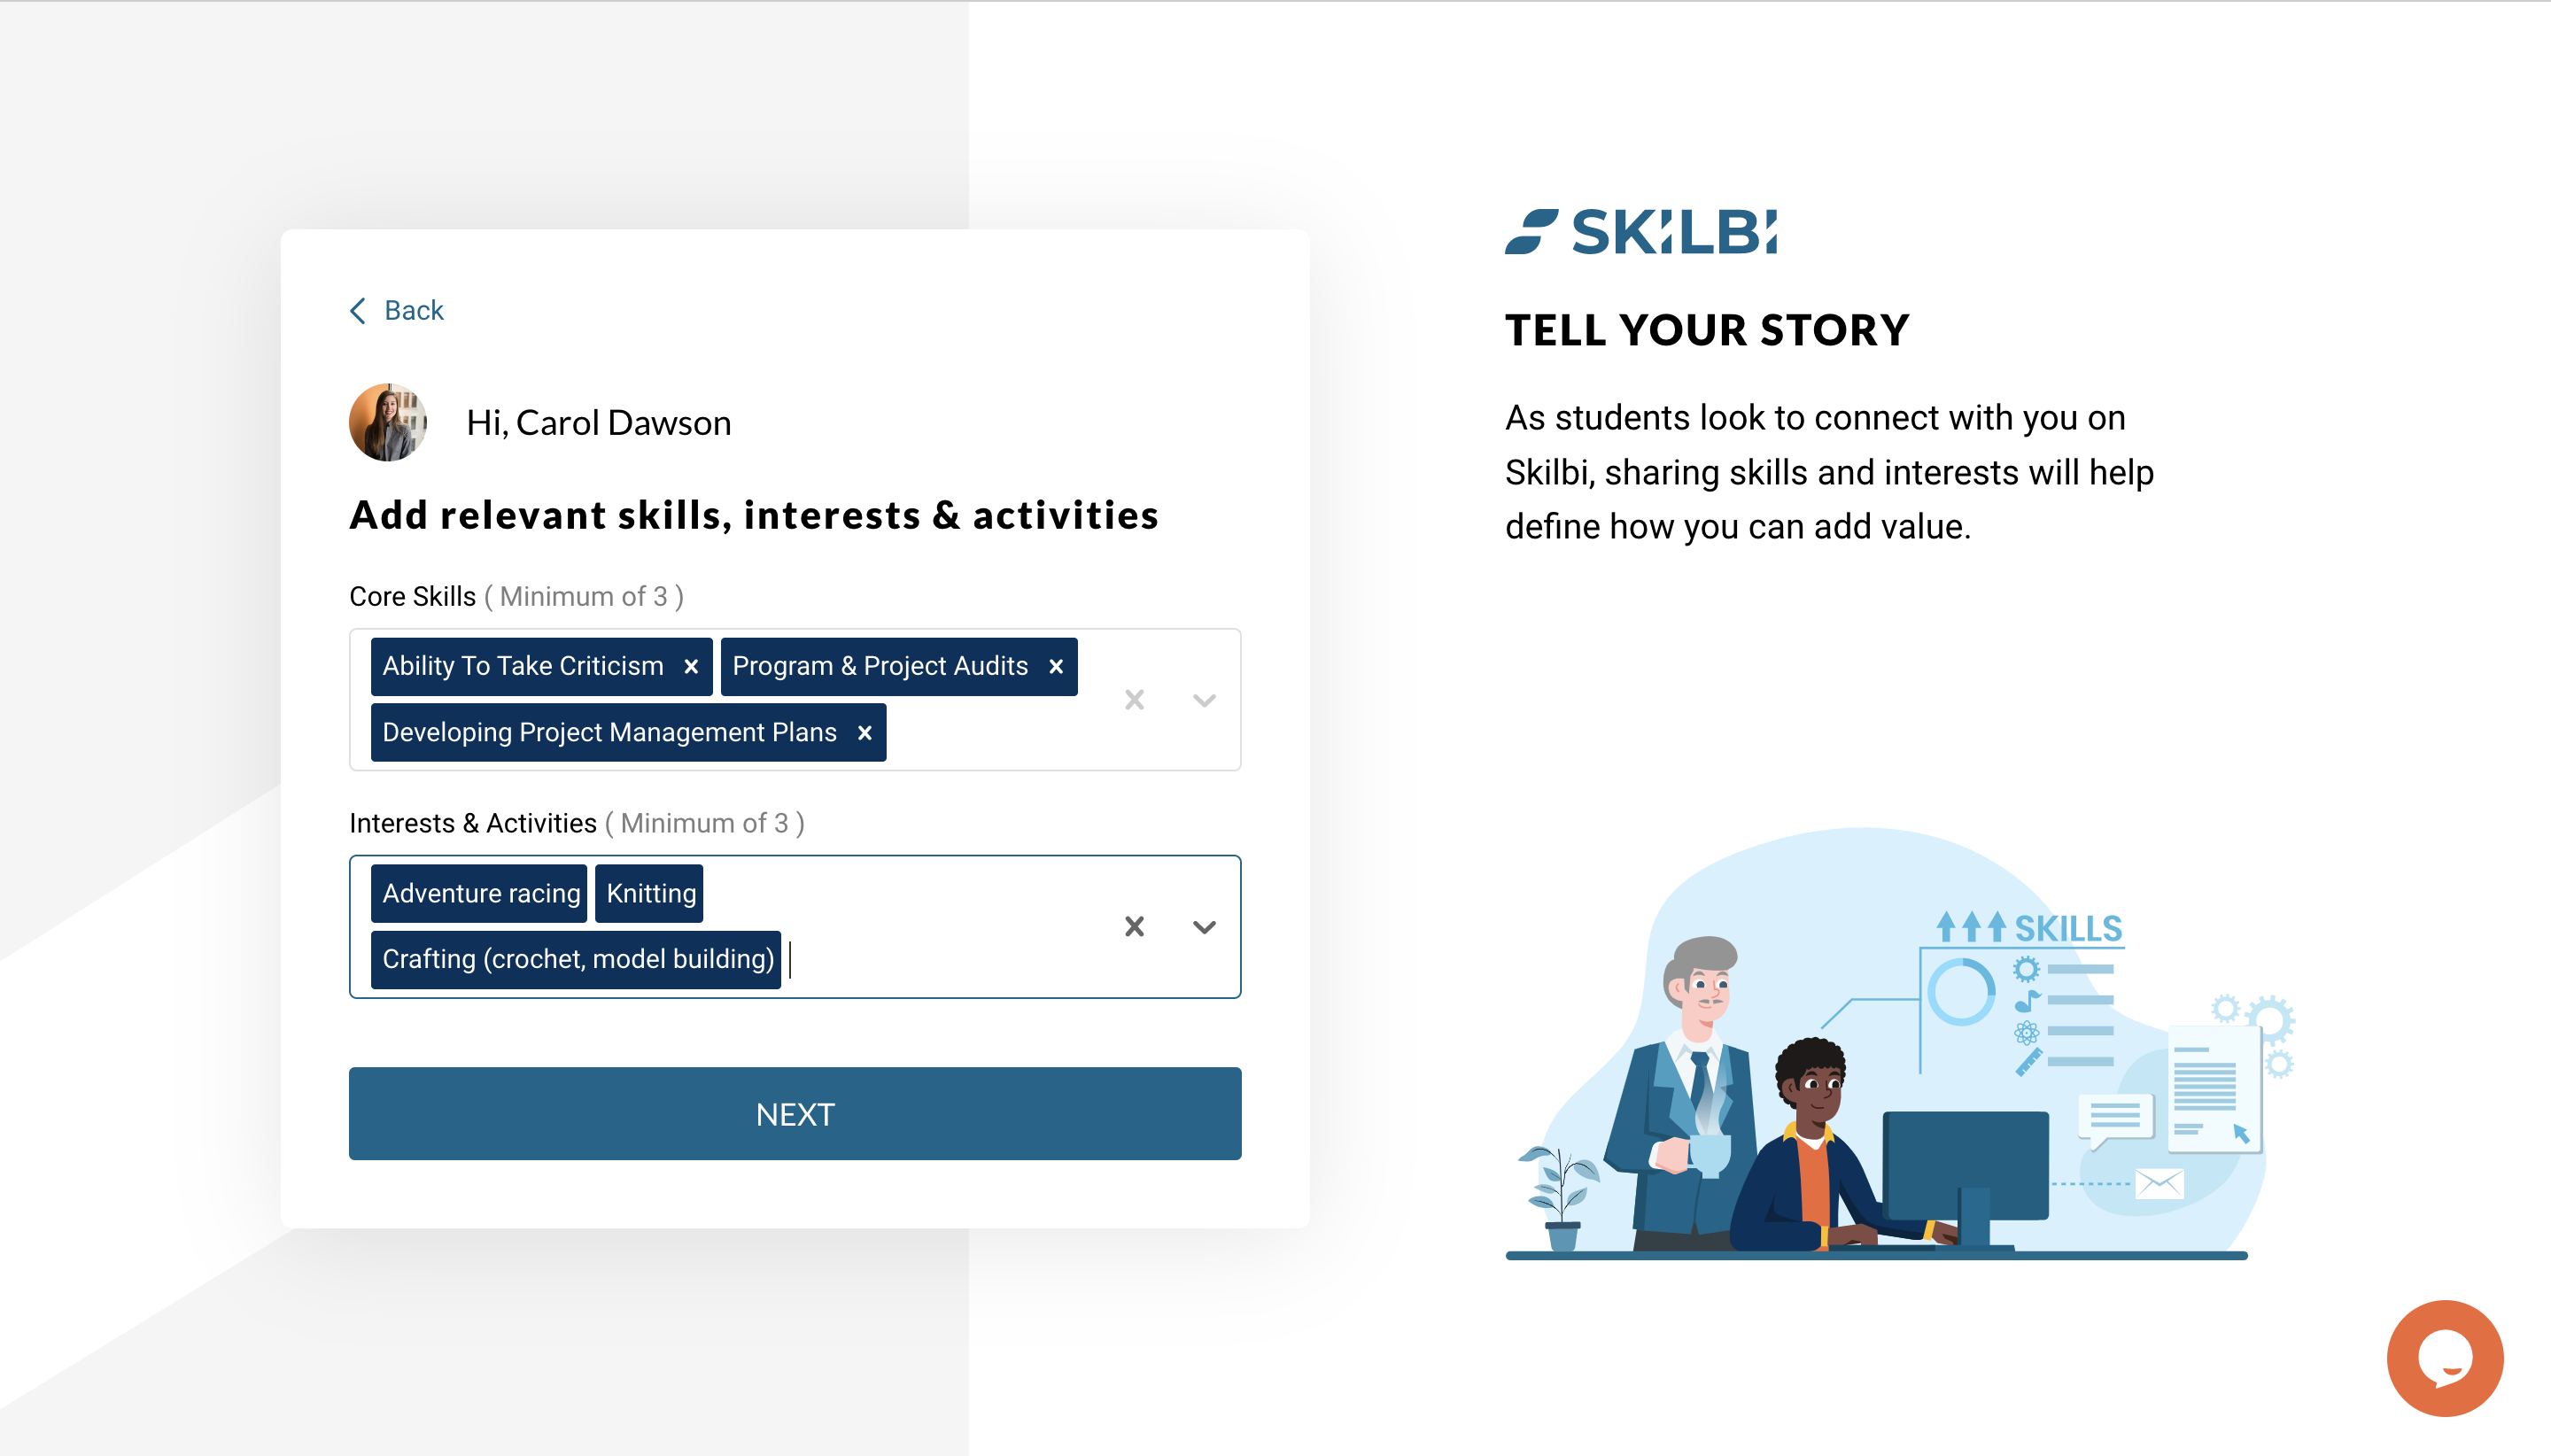
Next, add some core skills you are most familiar with and some interests and activities so that the mentee can see them. This allows Skilbi to recommend you to students that best align with your skills.
Step 9: Personal Info
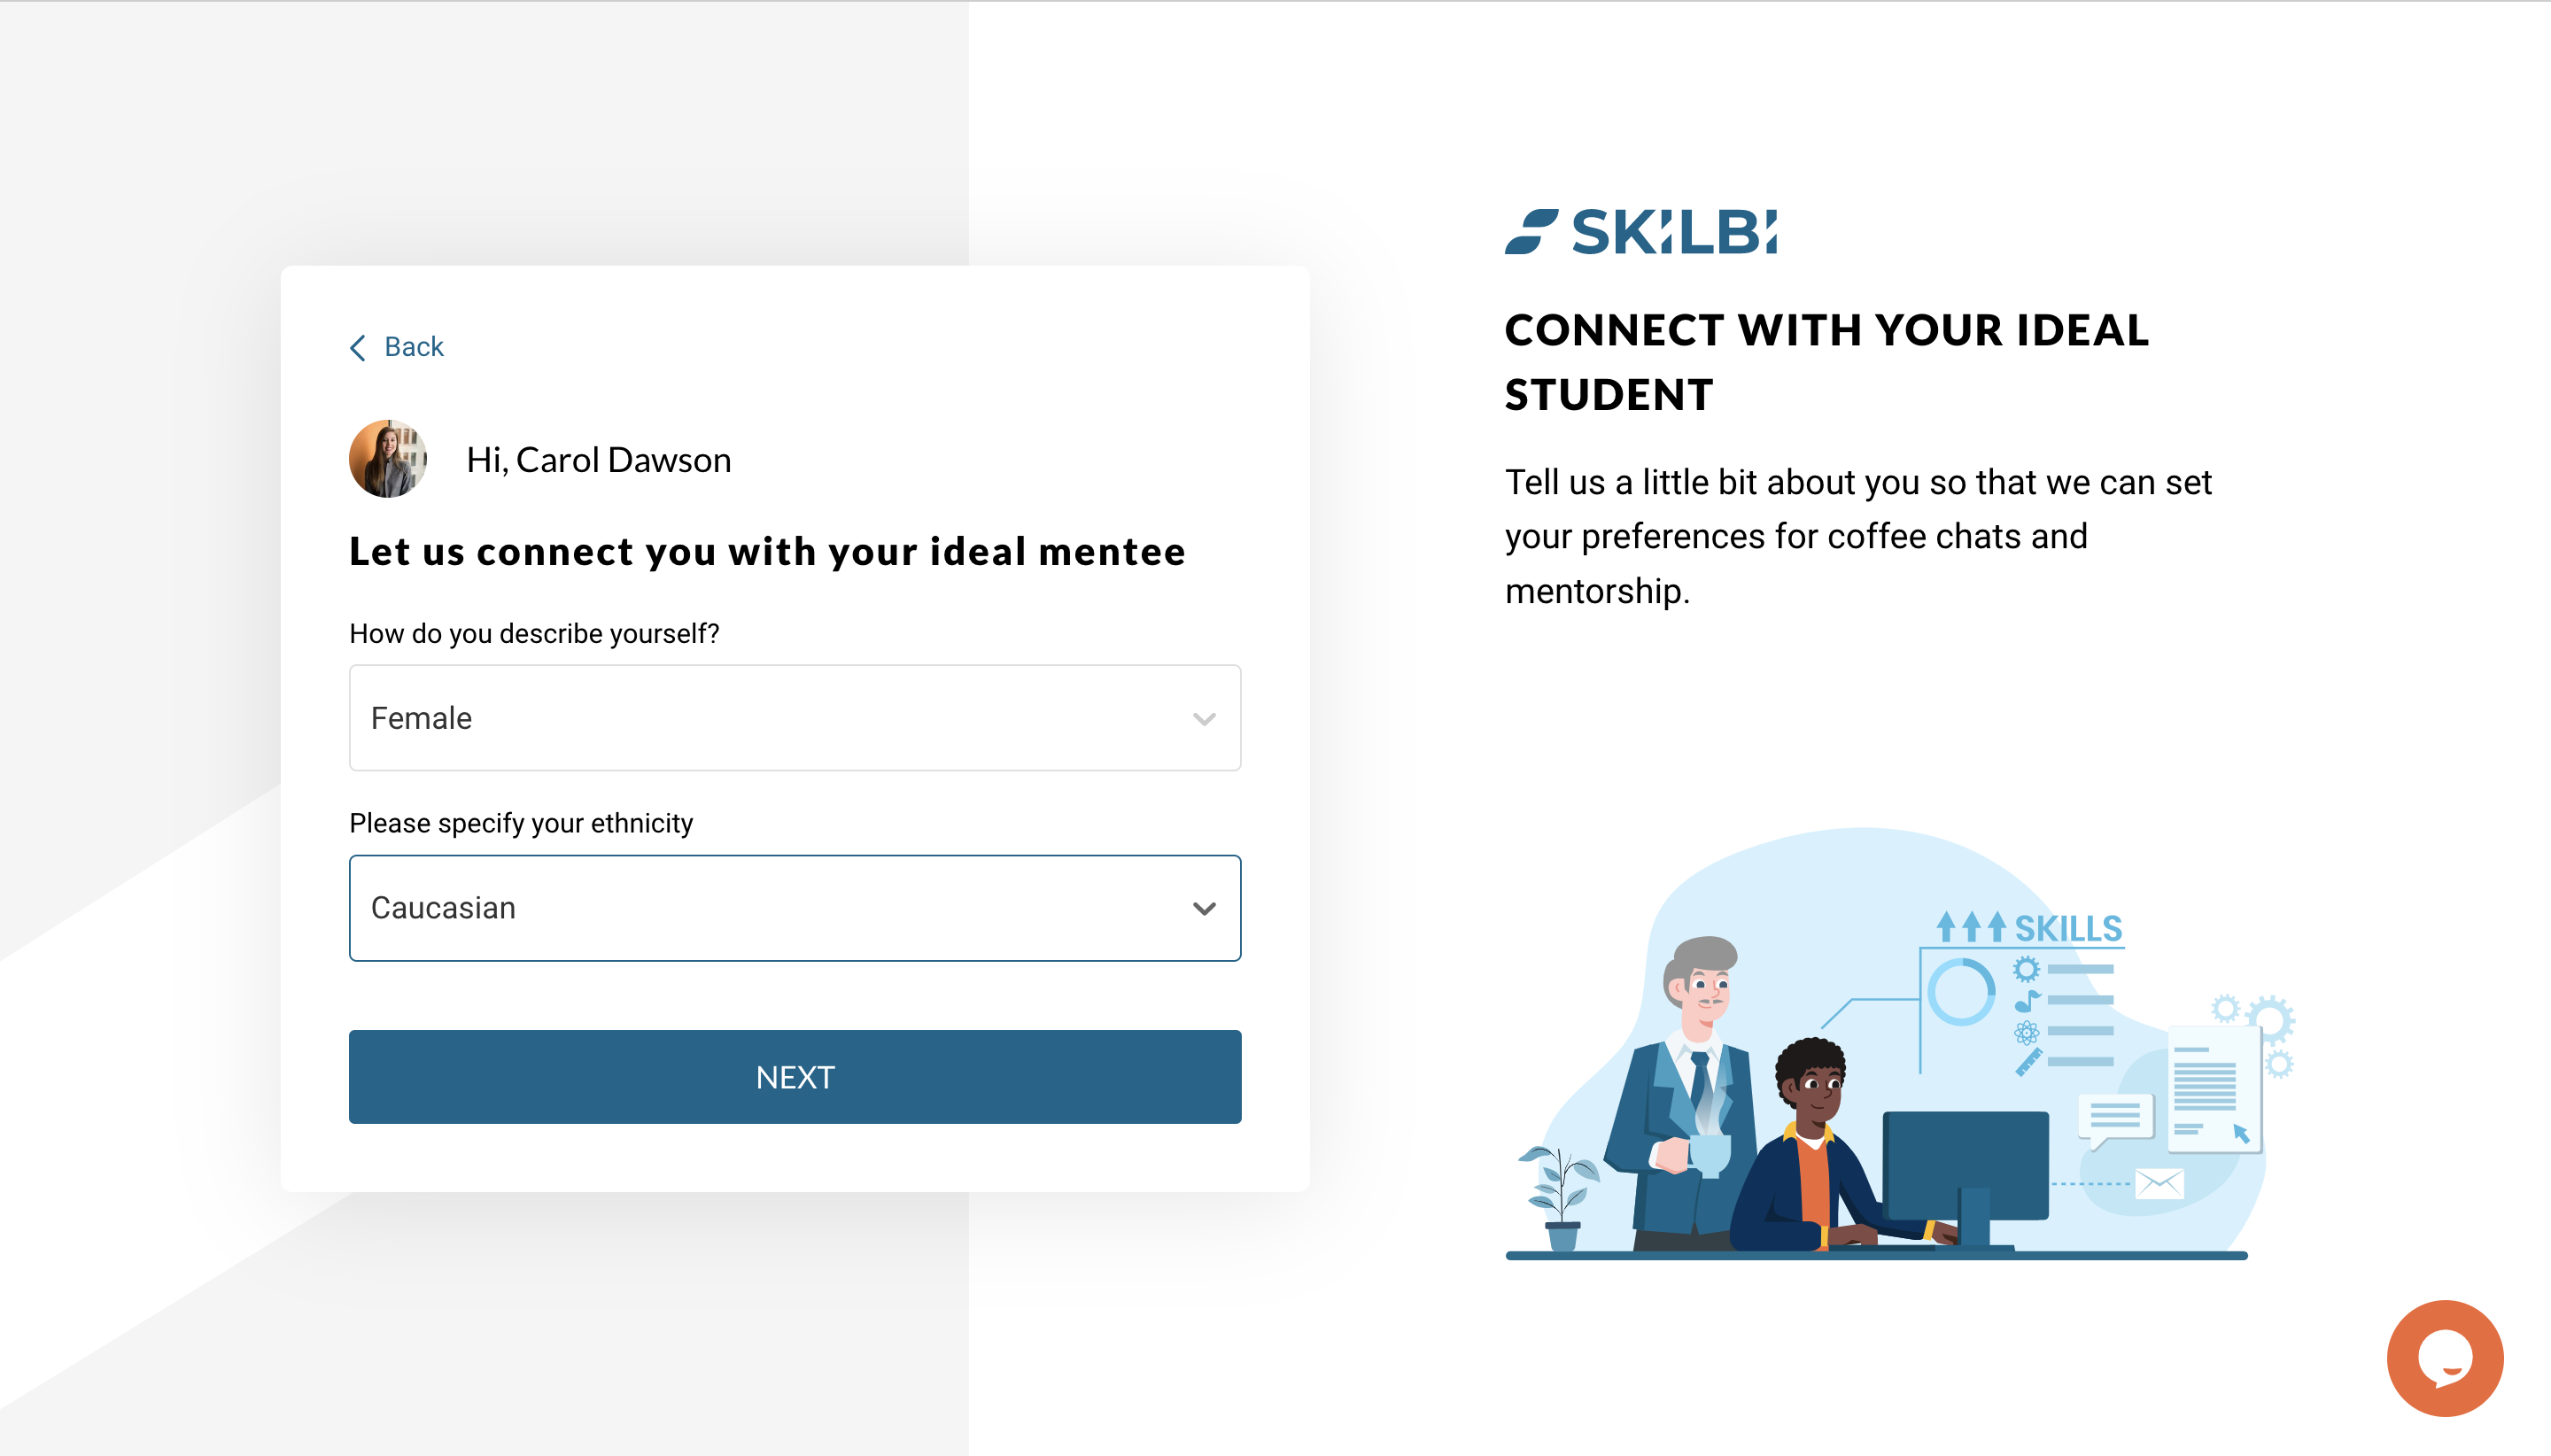
Add some of the identity options, some mentee might have specific preference of who their mentor are. By adding this information, it allows them to find someone that is more aligned to their ideal mentor.
Step 10: Share your story
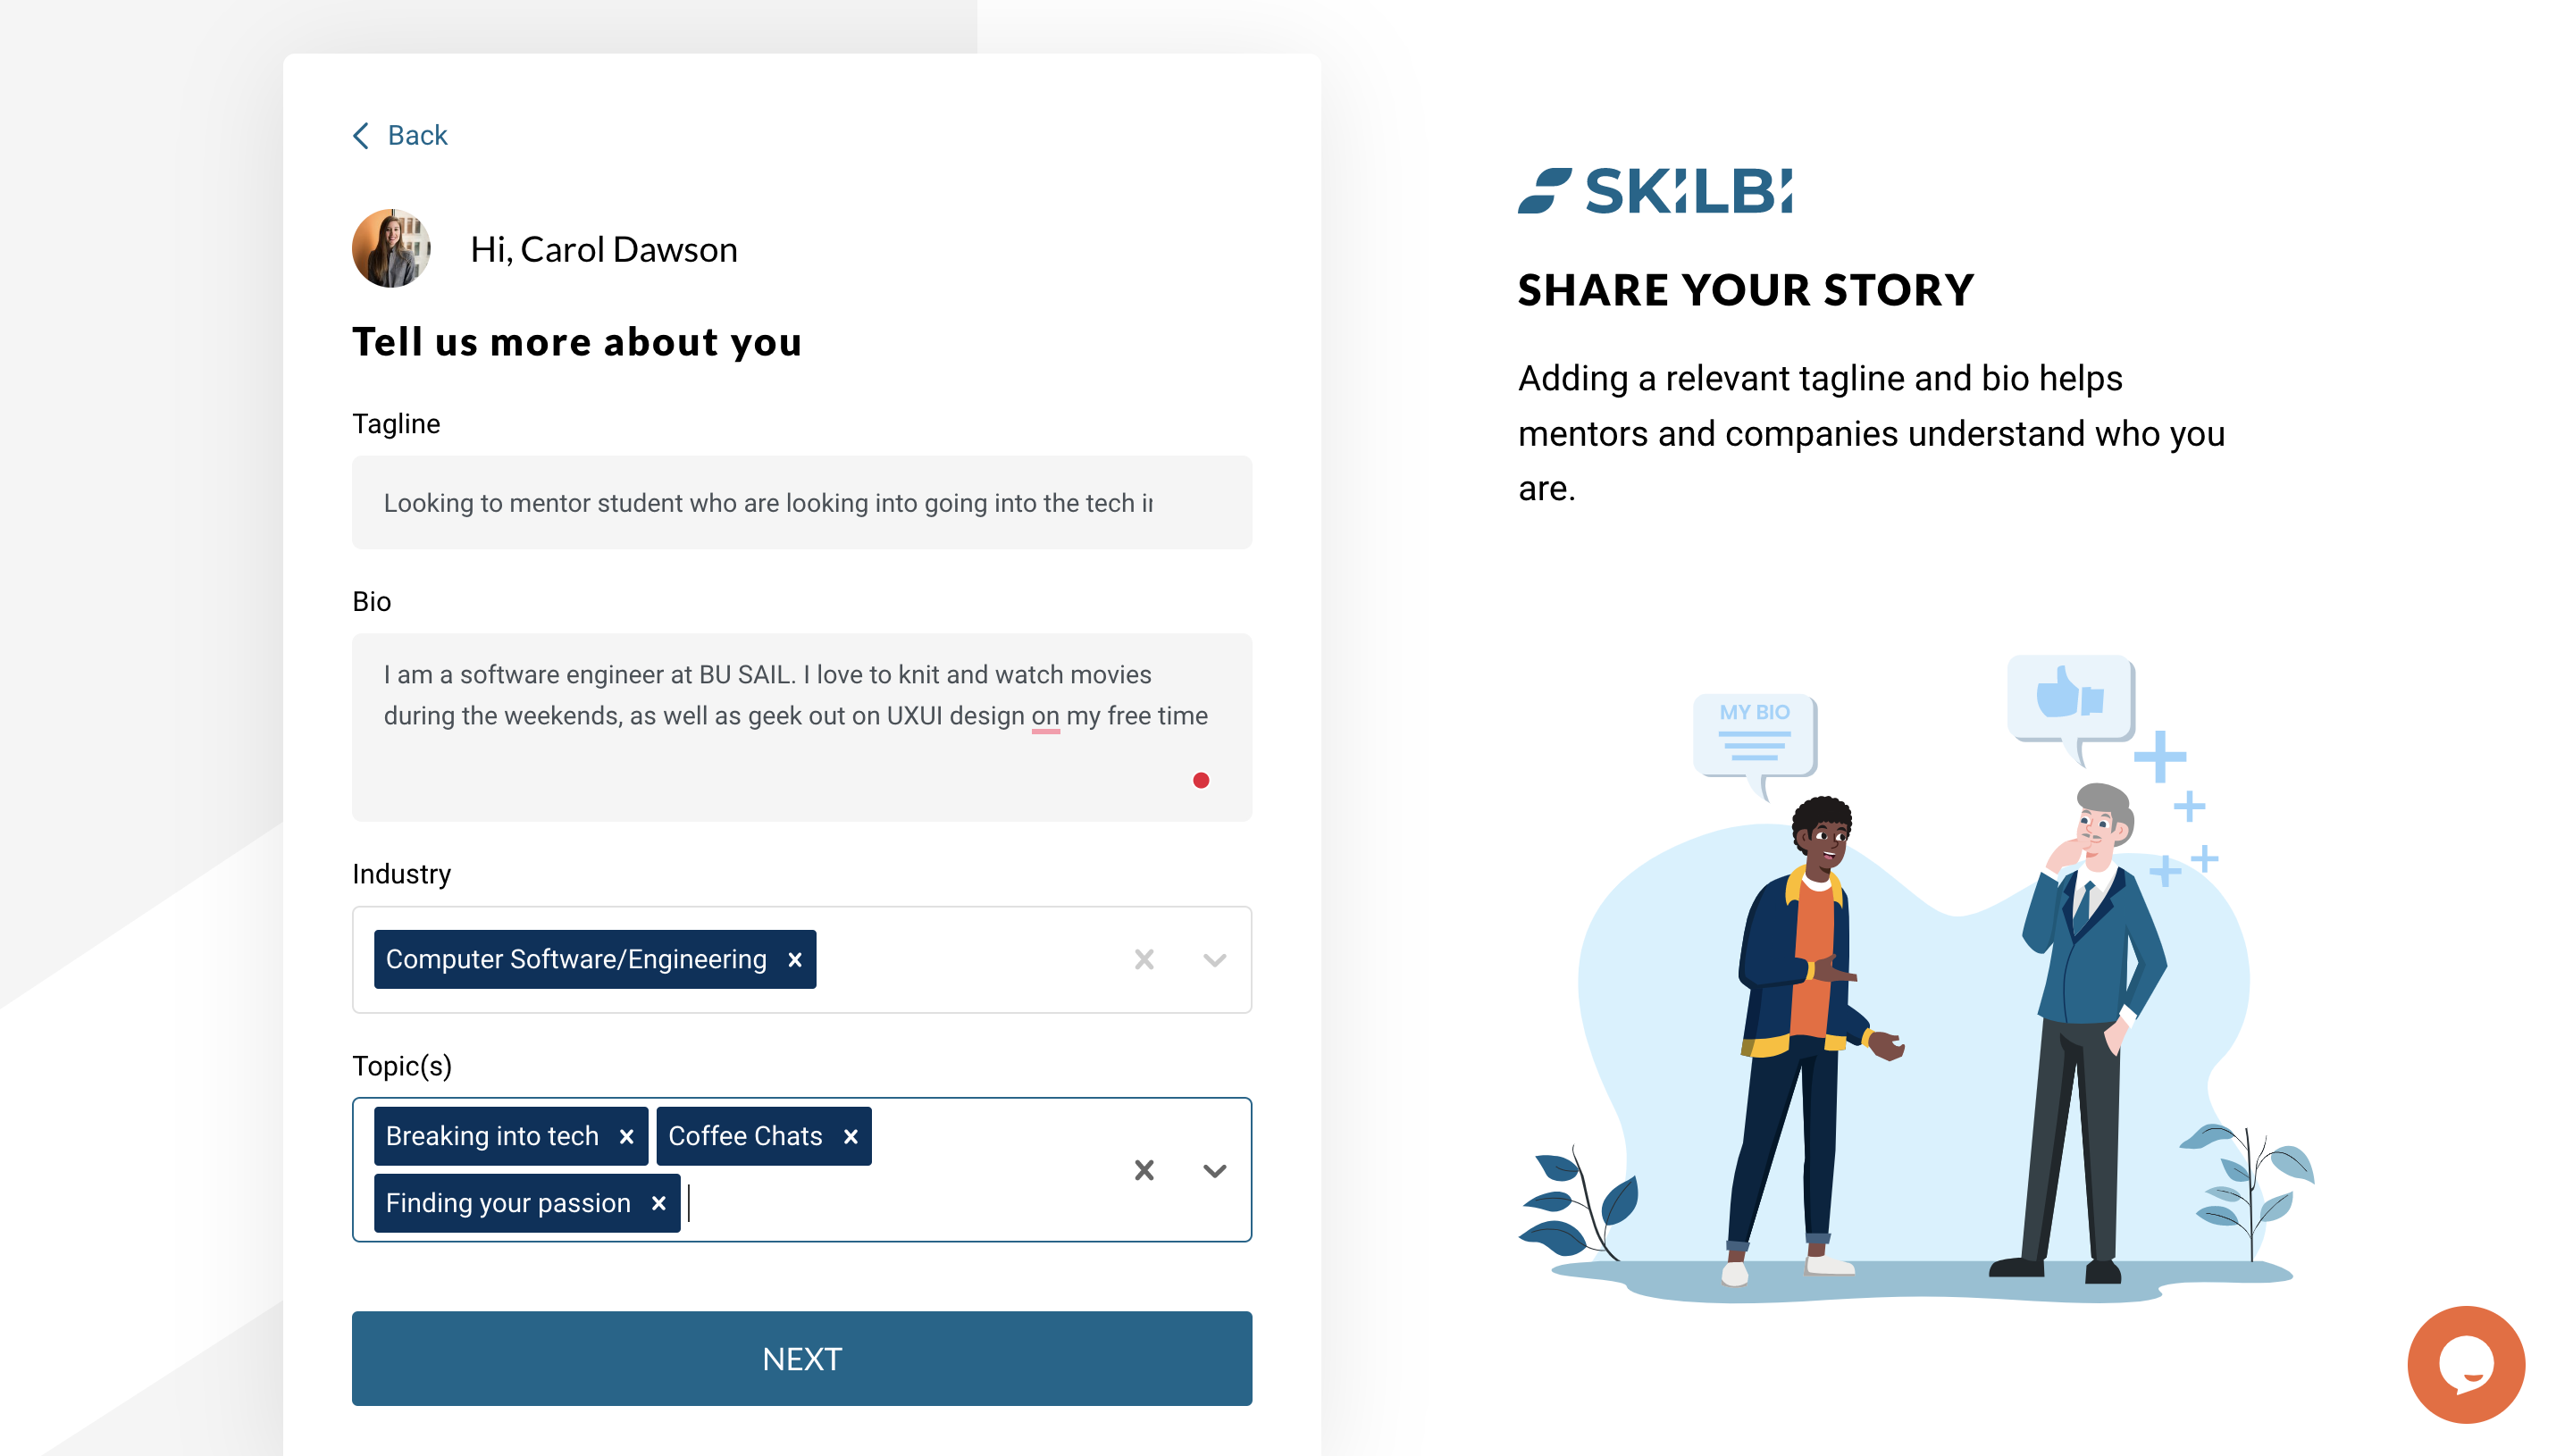
Tell your mentee more about you, and your story. Add a tagline to your profile, a bio to introduce yourself, or anything you want your mentee to know. Also, add in the topic and industries you want to be featured in.
Step 11: Final Steps
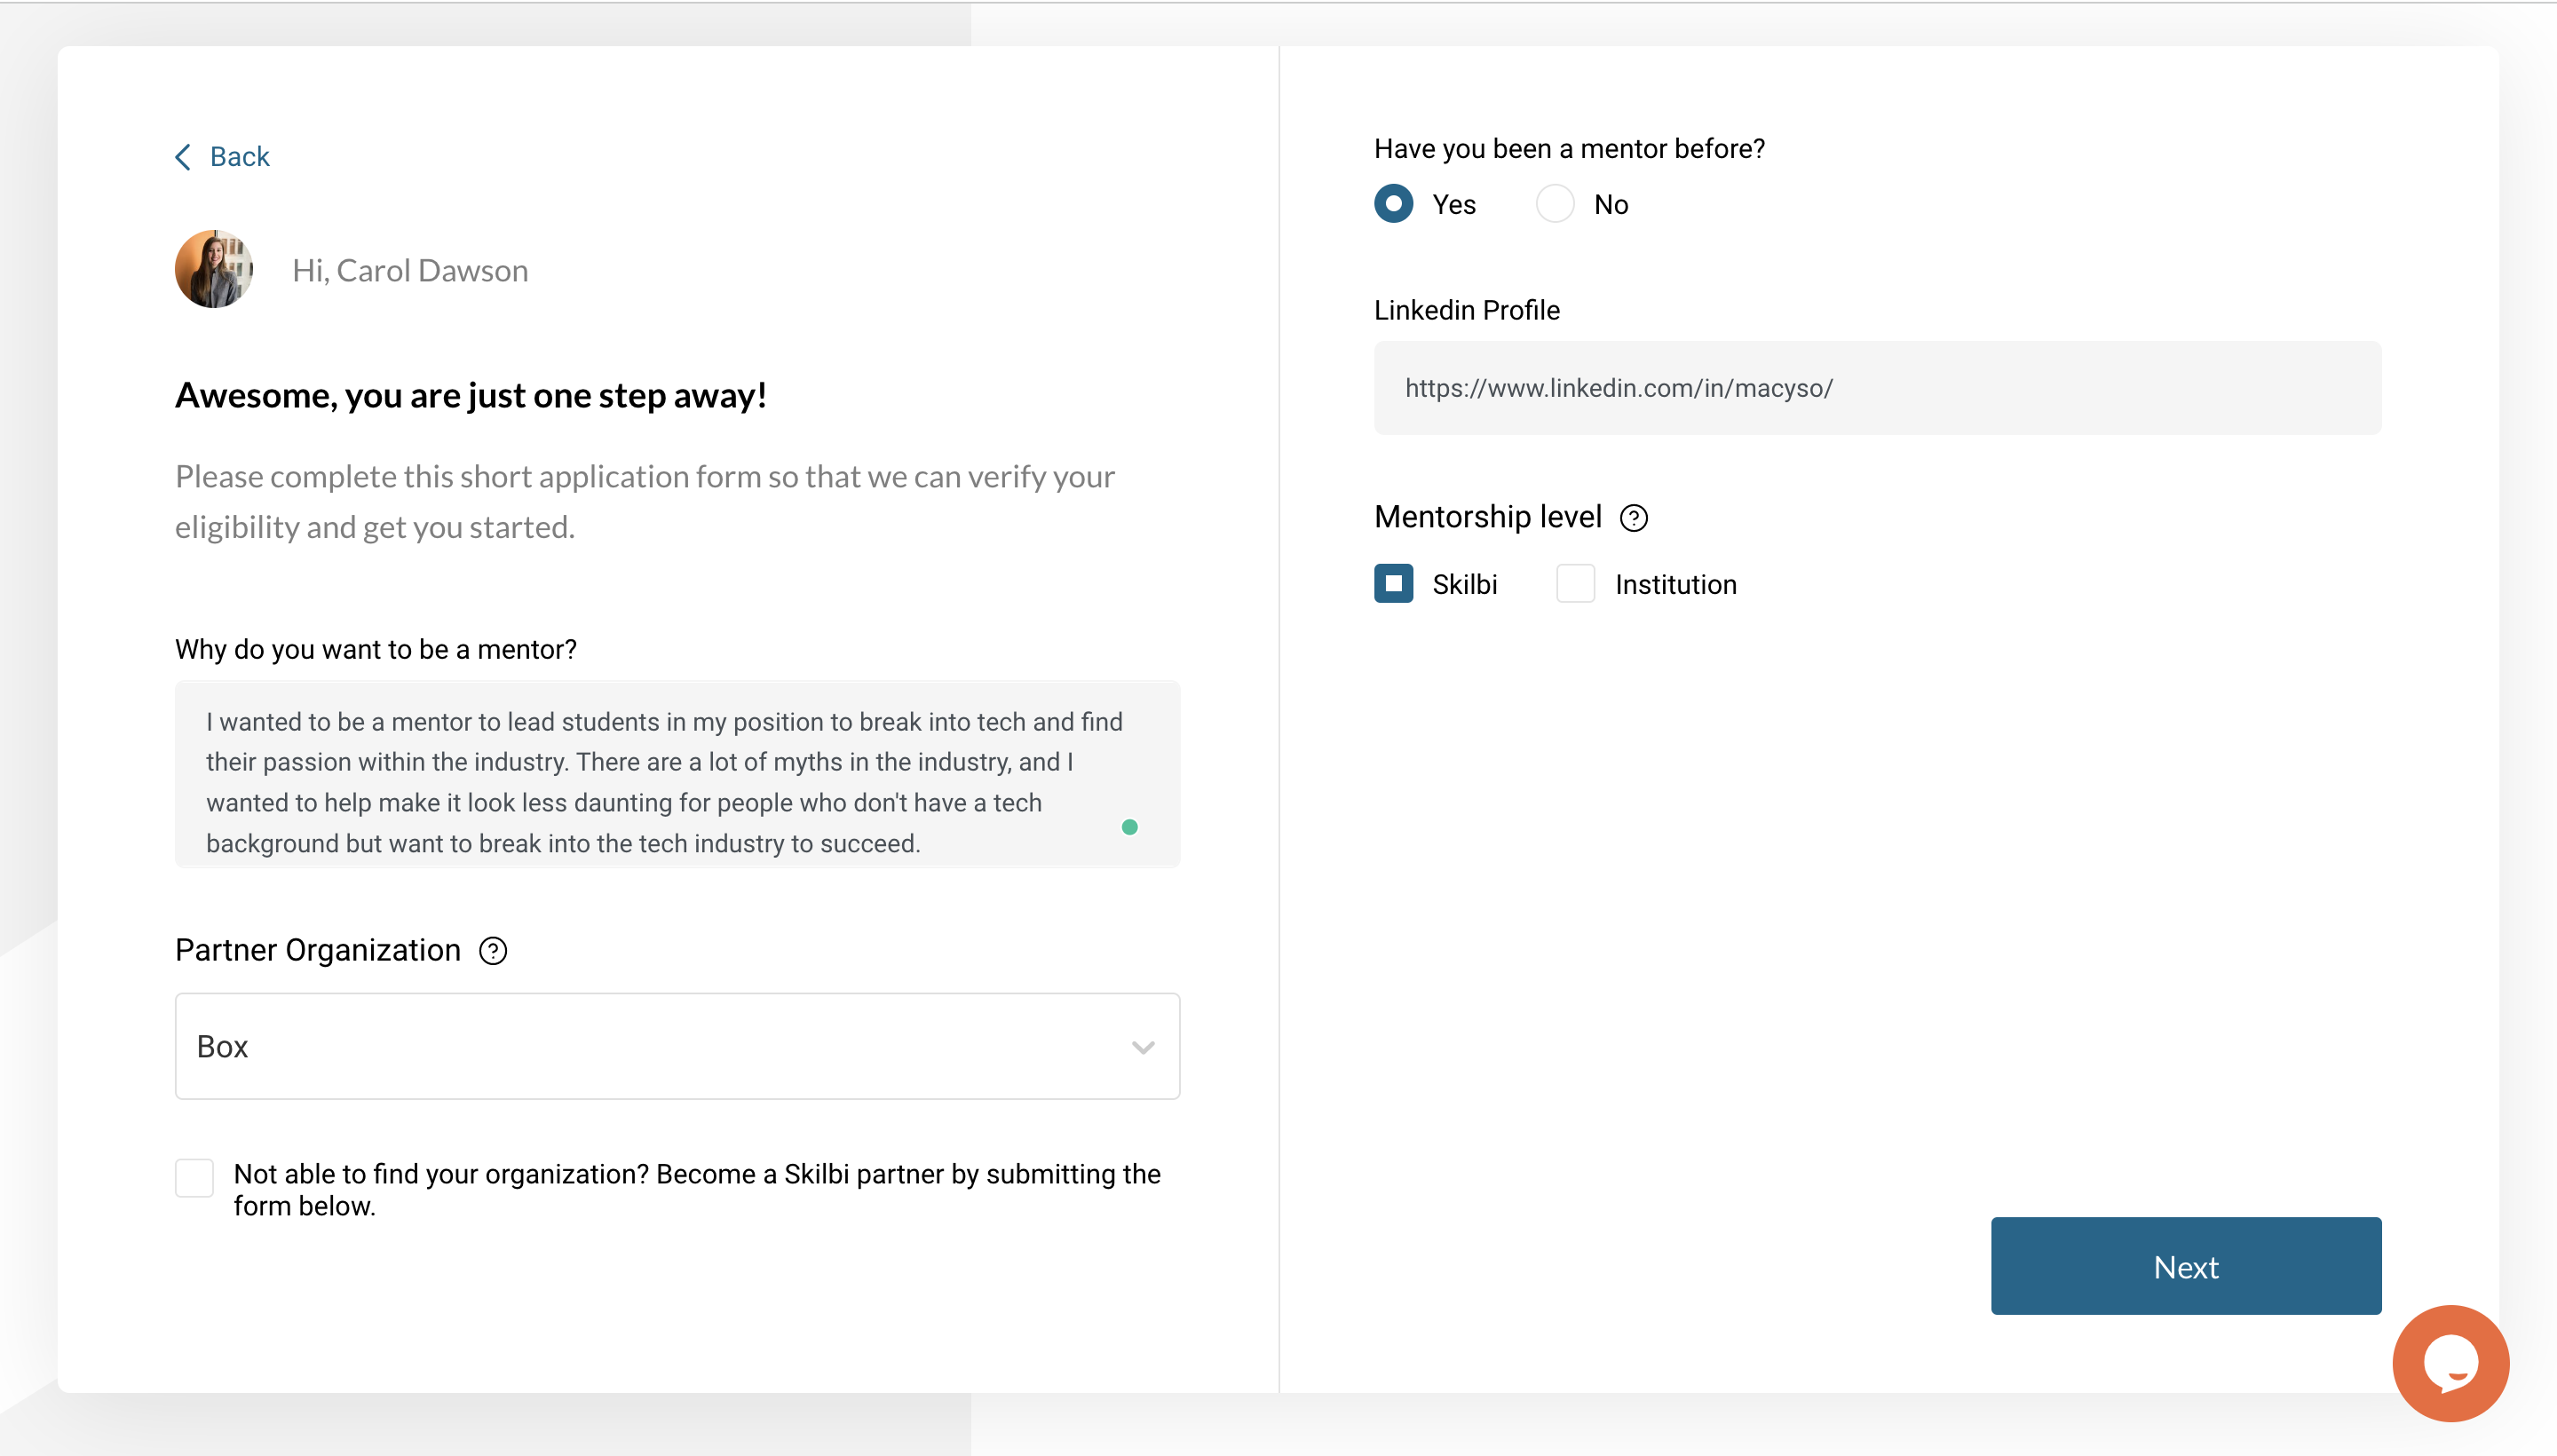
Awesome!!
At this point, you are so close to completing your initial profile. Tell Skilbi and your potential mentee why you want to become a mentor, and enter any Partner Organization you belong to.
If you are not in our partnered organization, feel free to submit your organization below after clicking on the check box. (This is optional)
Step 12: Launch your dashboard
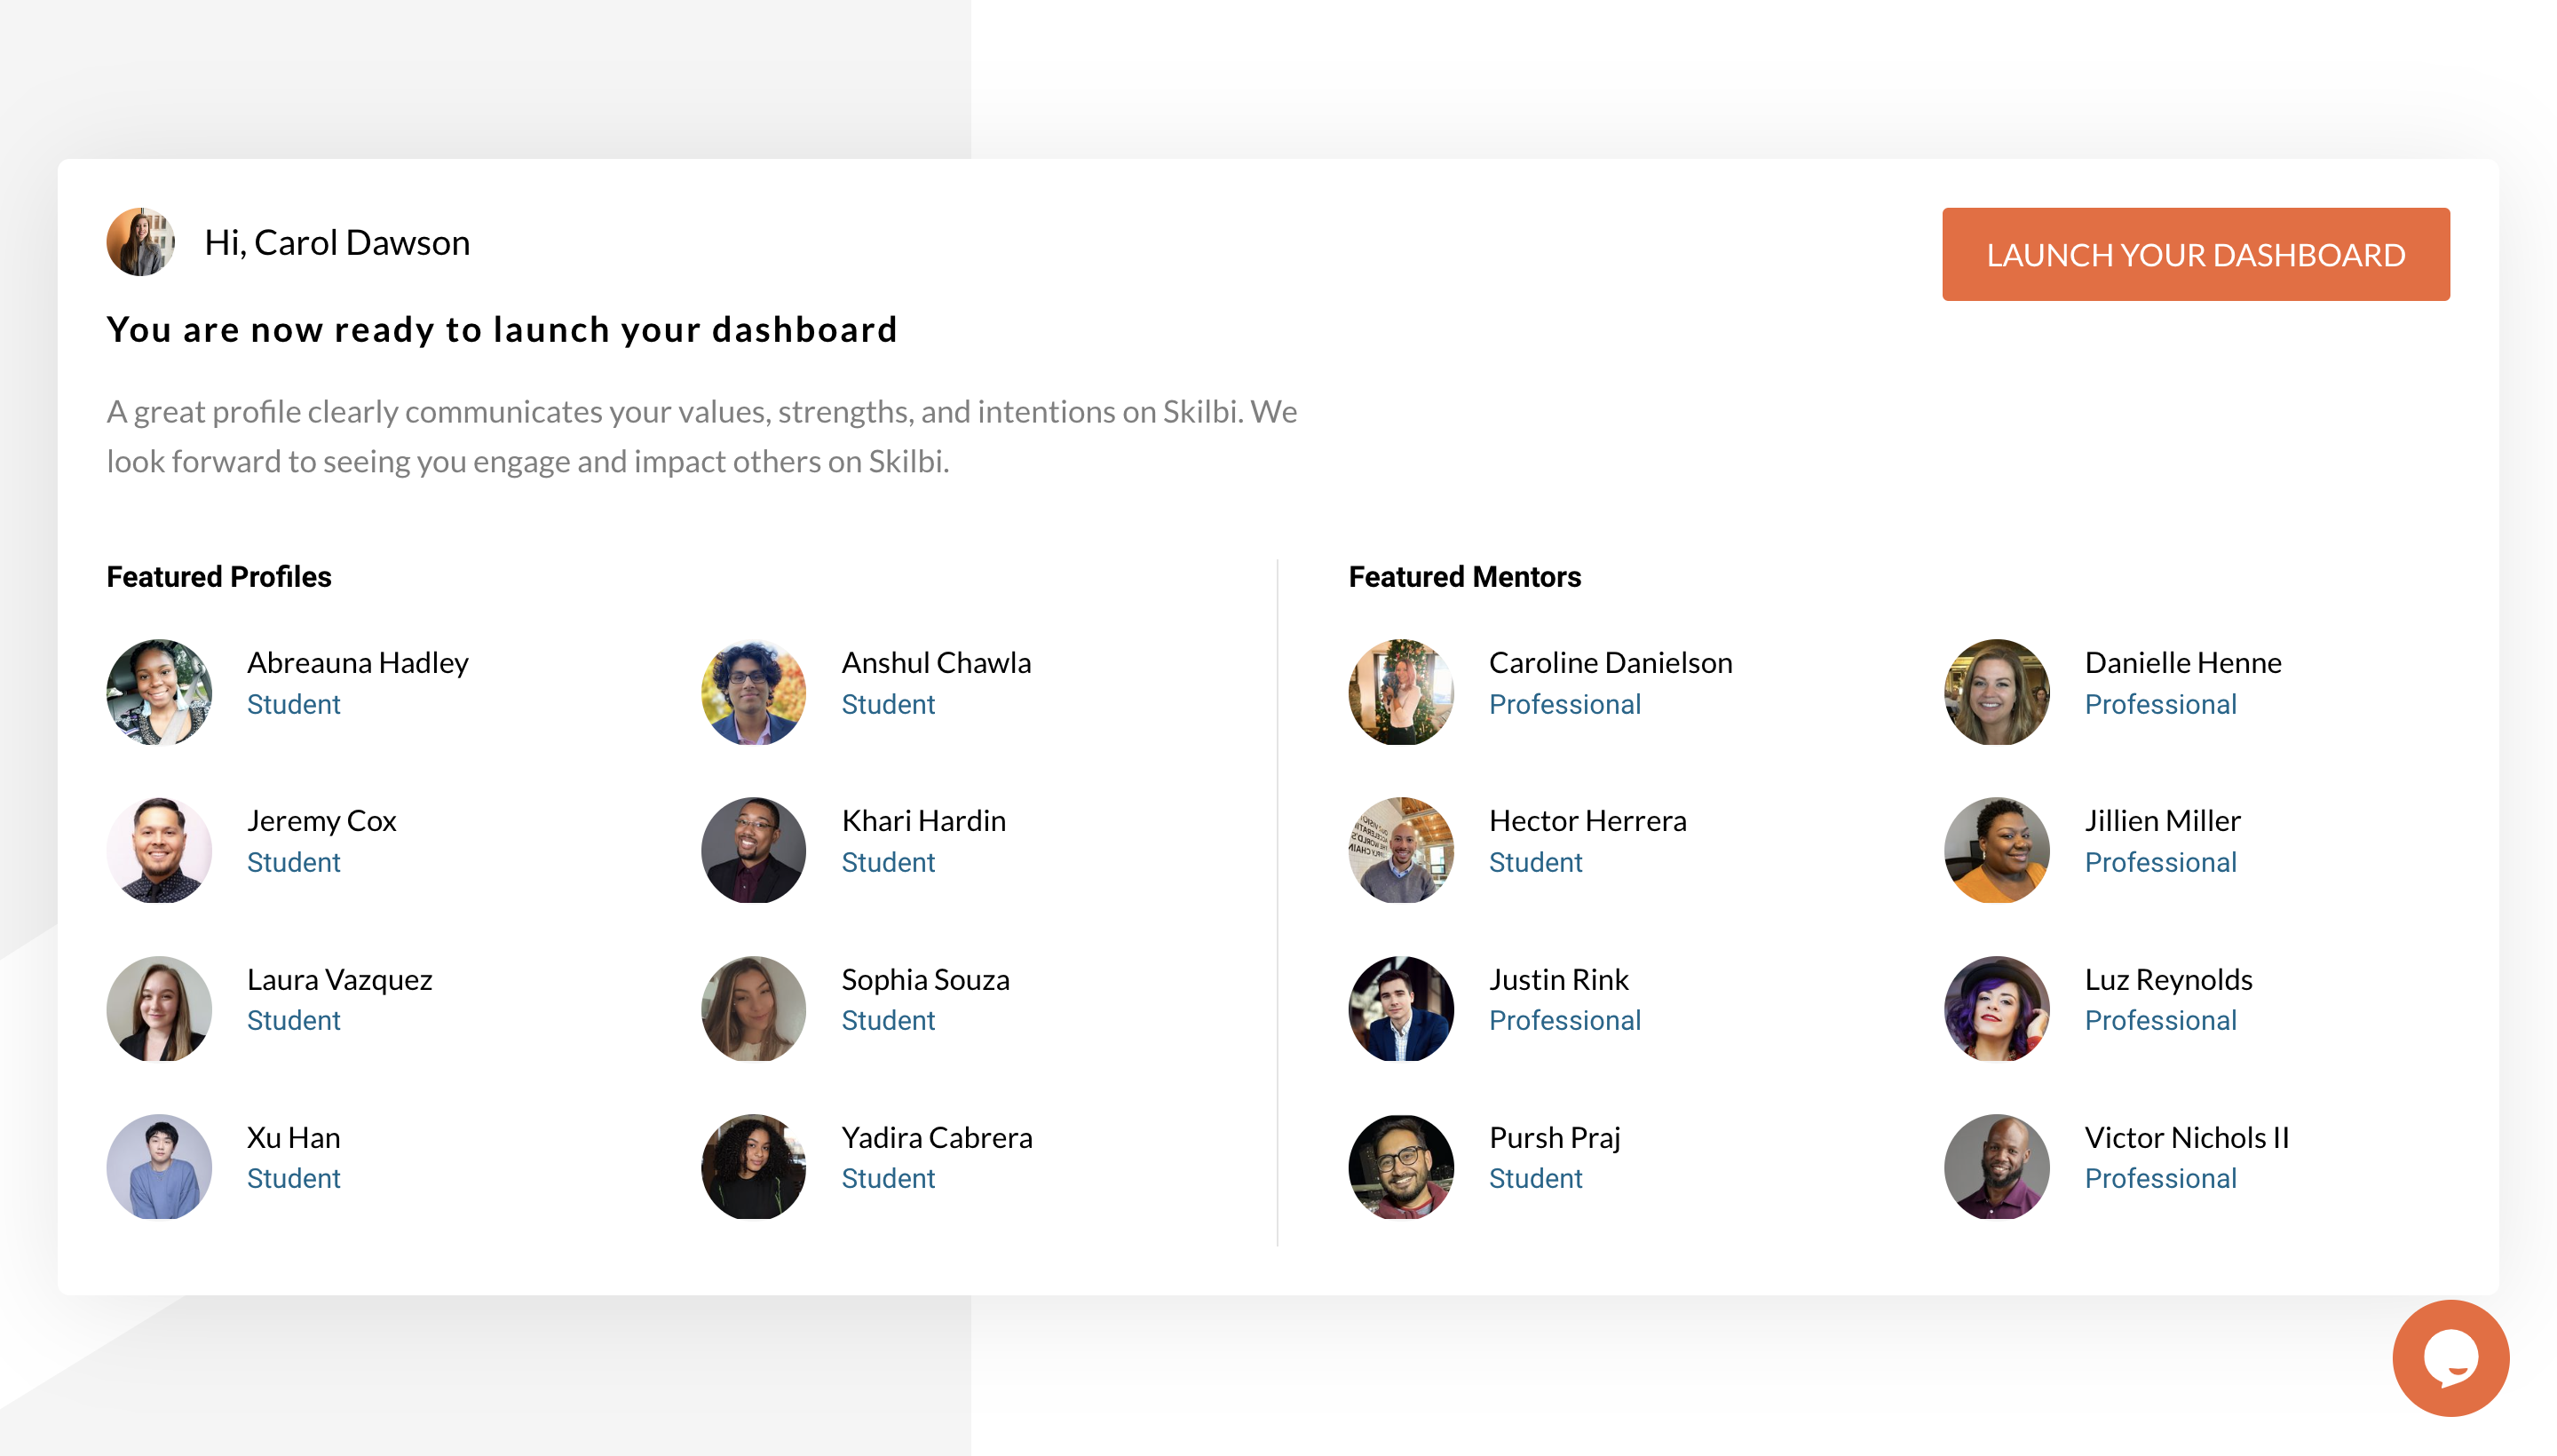
🥳 Congrats!! You have successfully created your profile.
Next, to make your profile more appealing to mentees, remember to fill in other information on your profile such as your education, experience, and the "get to know me" section
For any questions, please reach out to Skilbi support on our website. 👨🏿💻